

Apply for Canada eTA: Requirements, Validity & Process

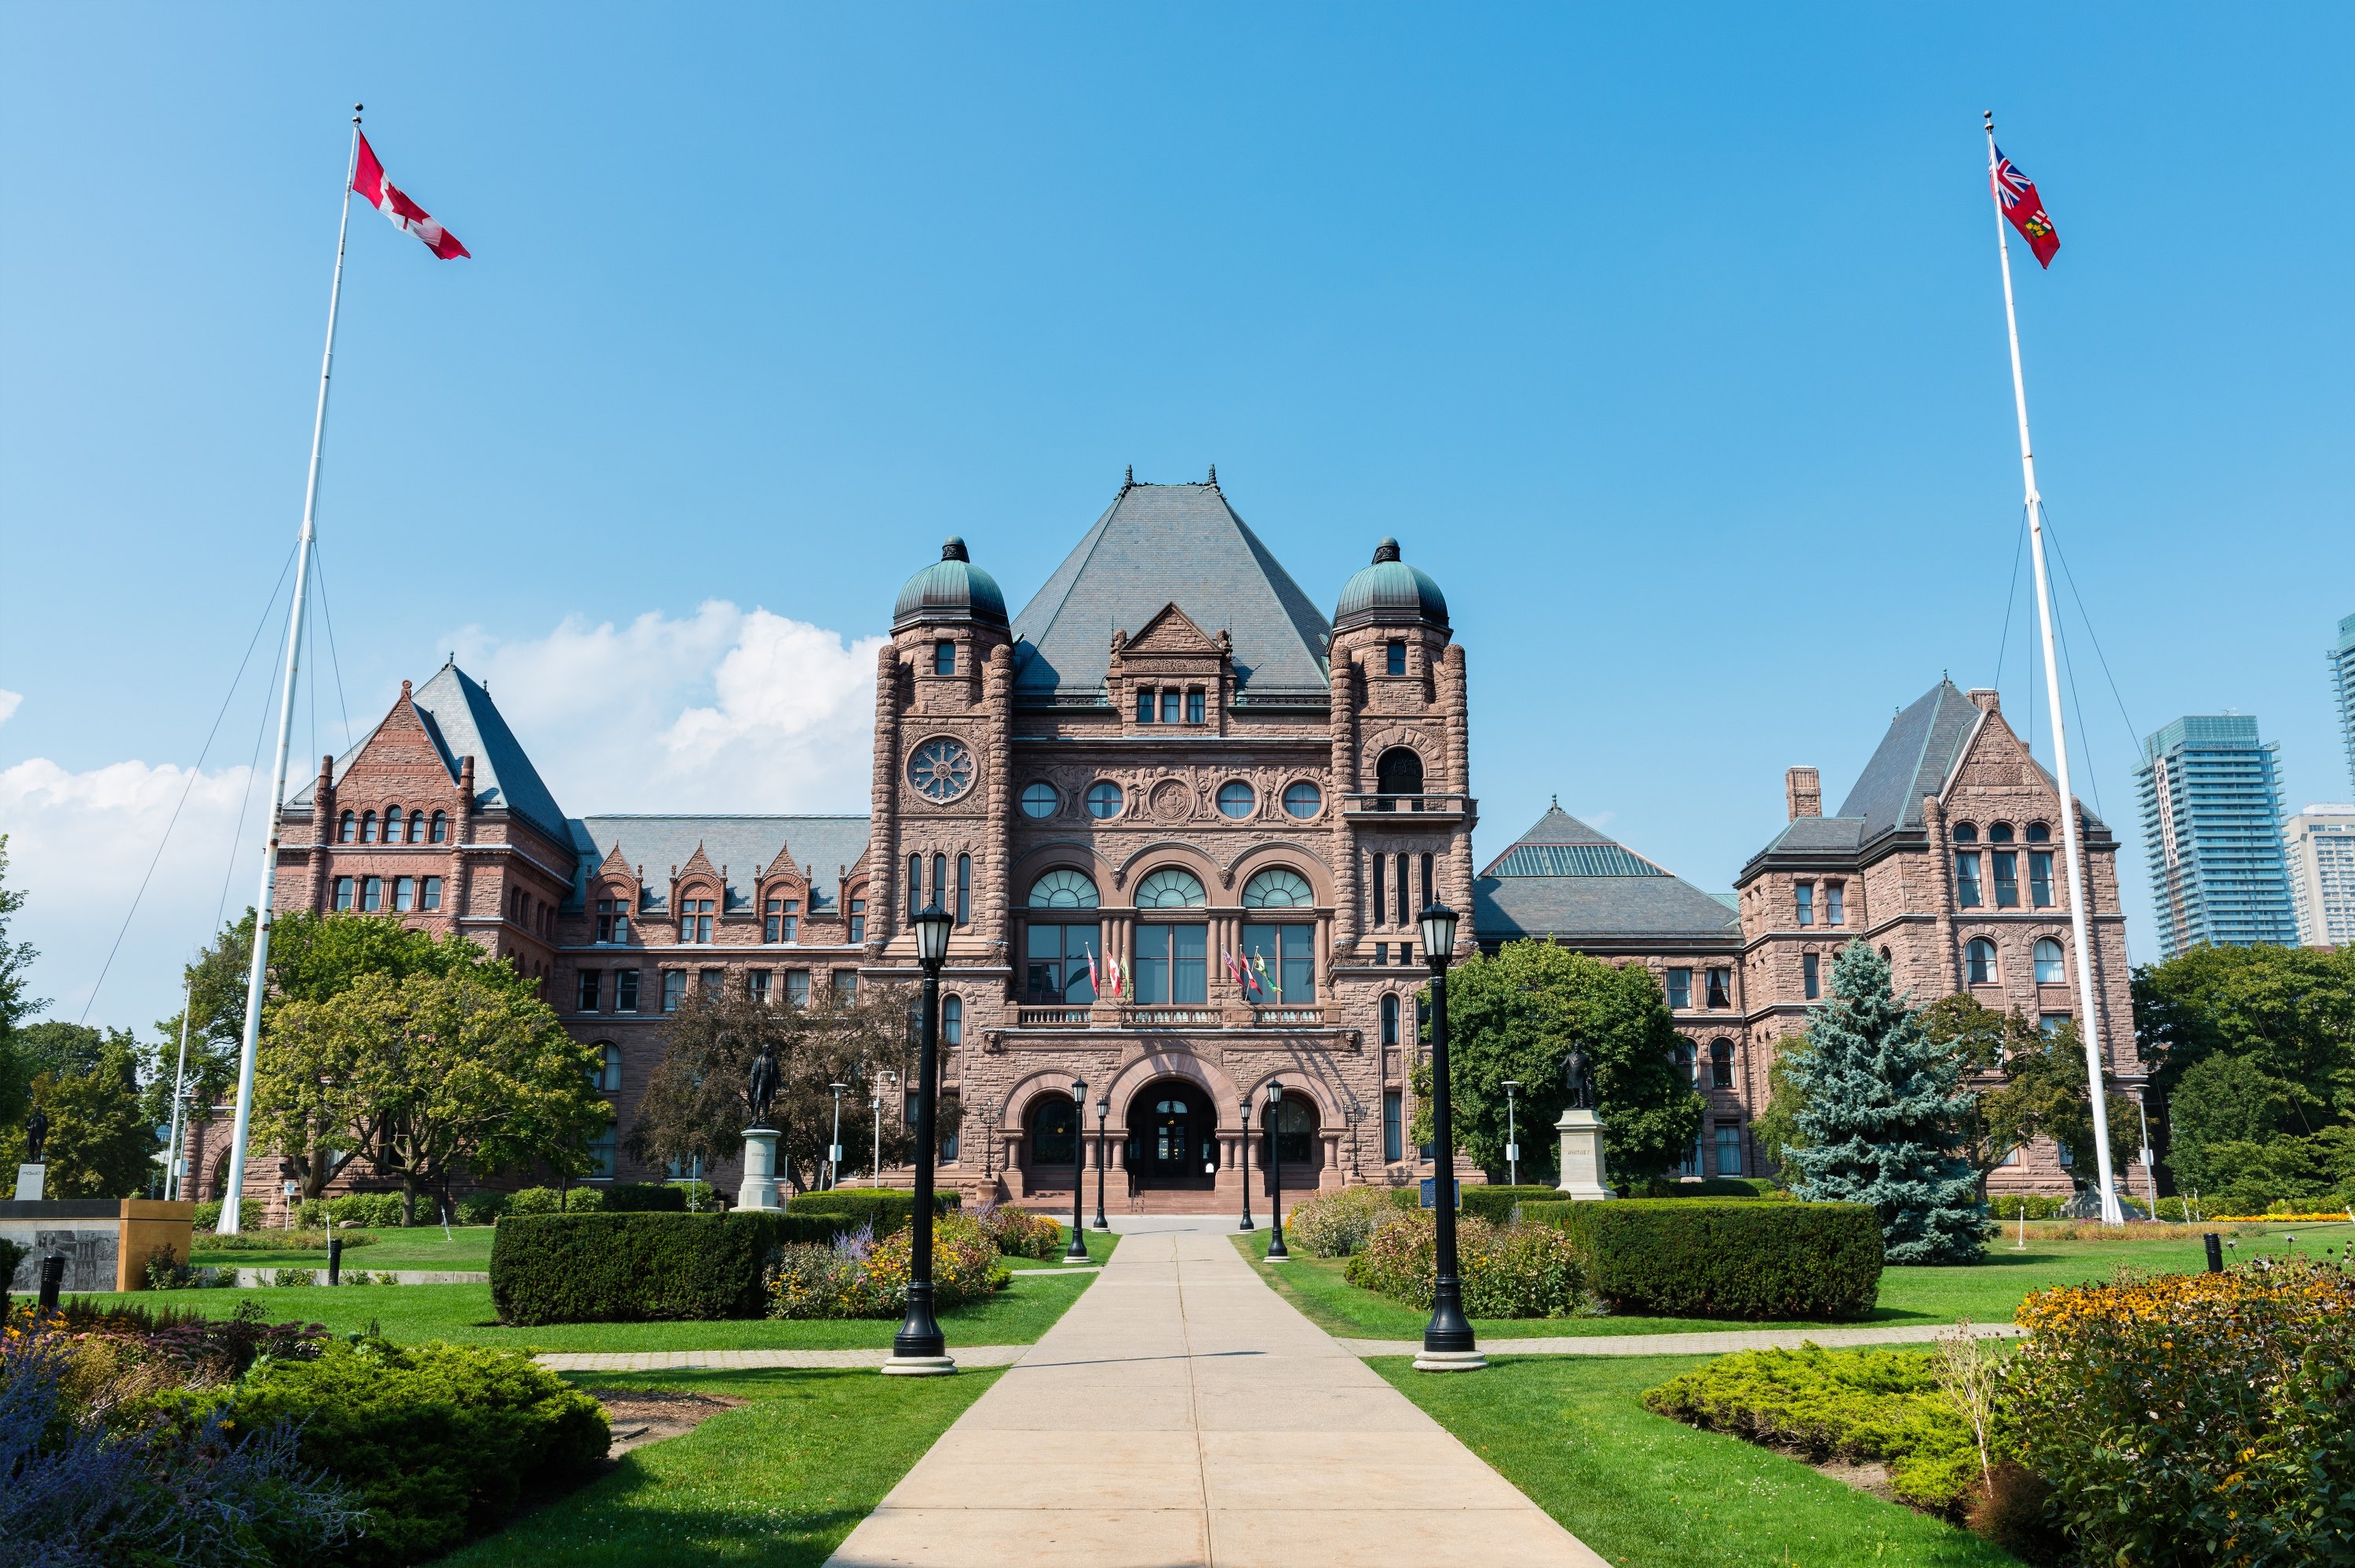
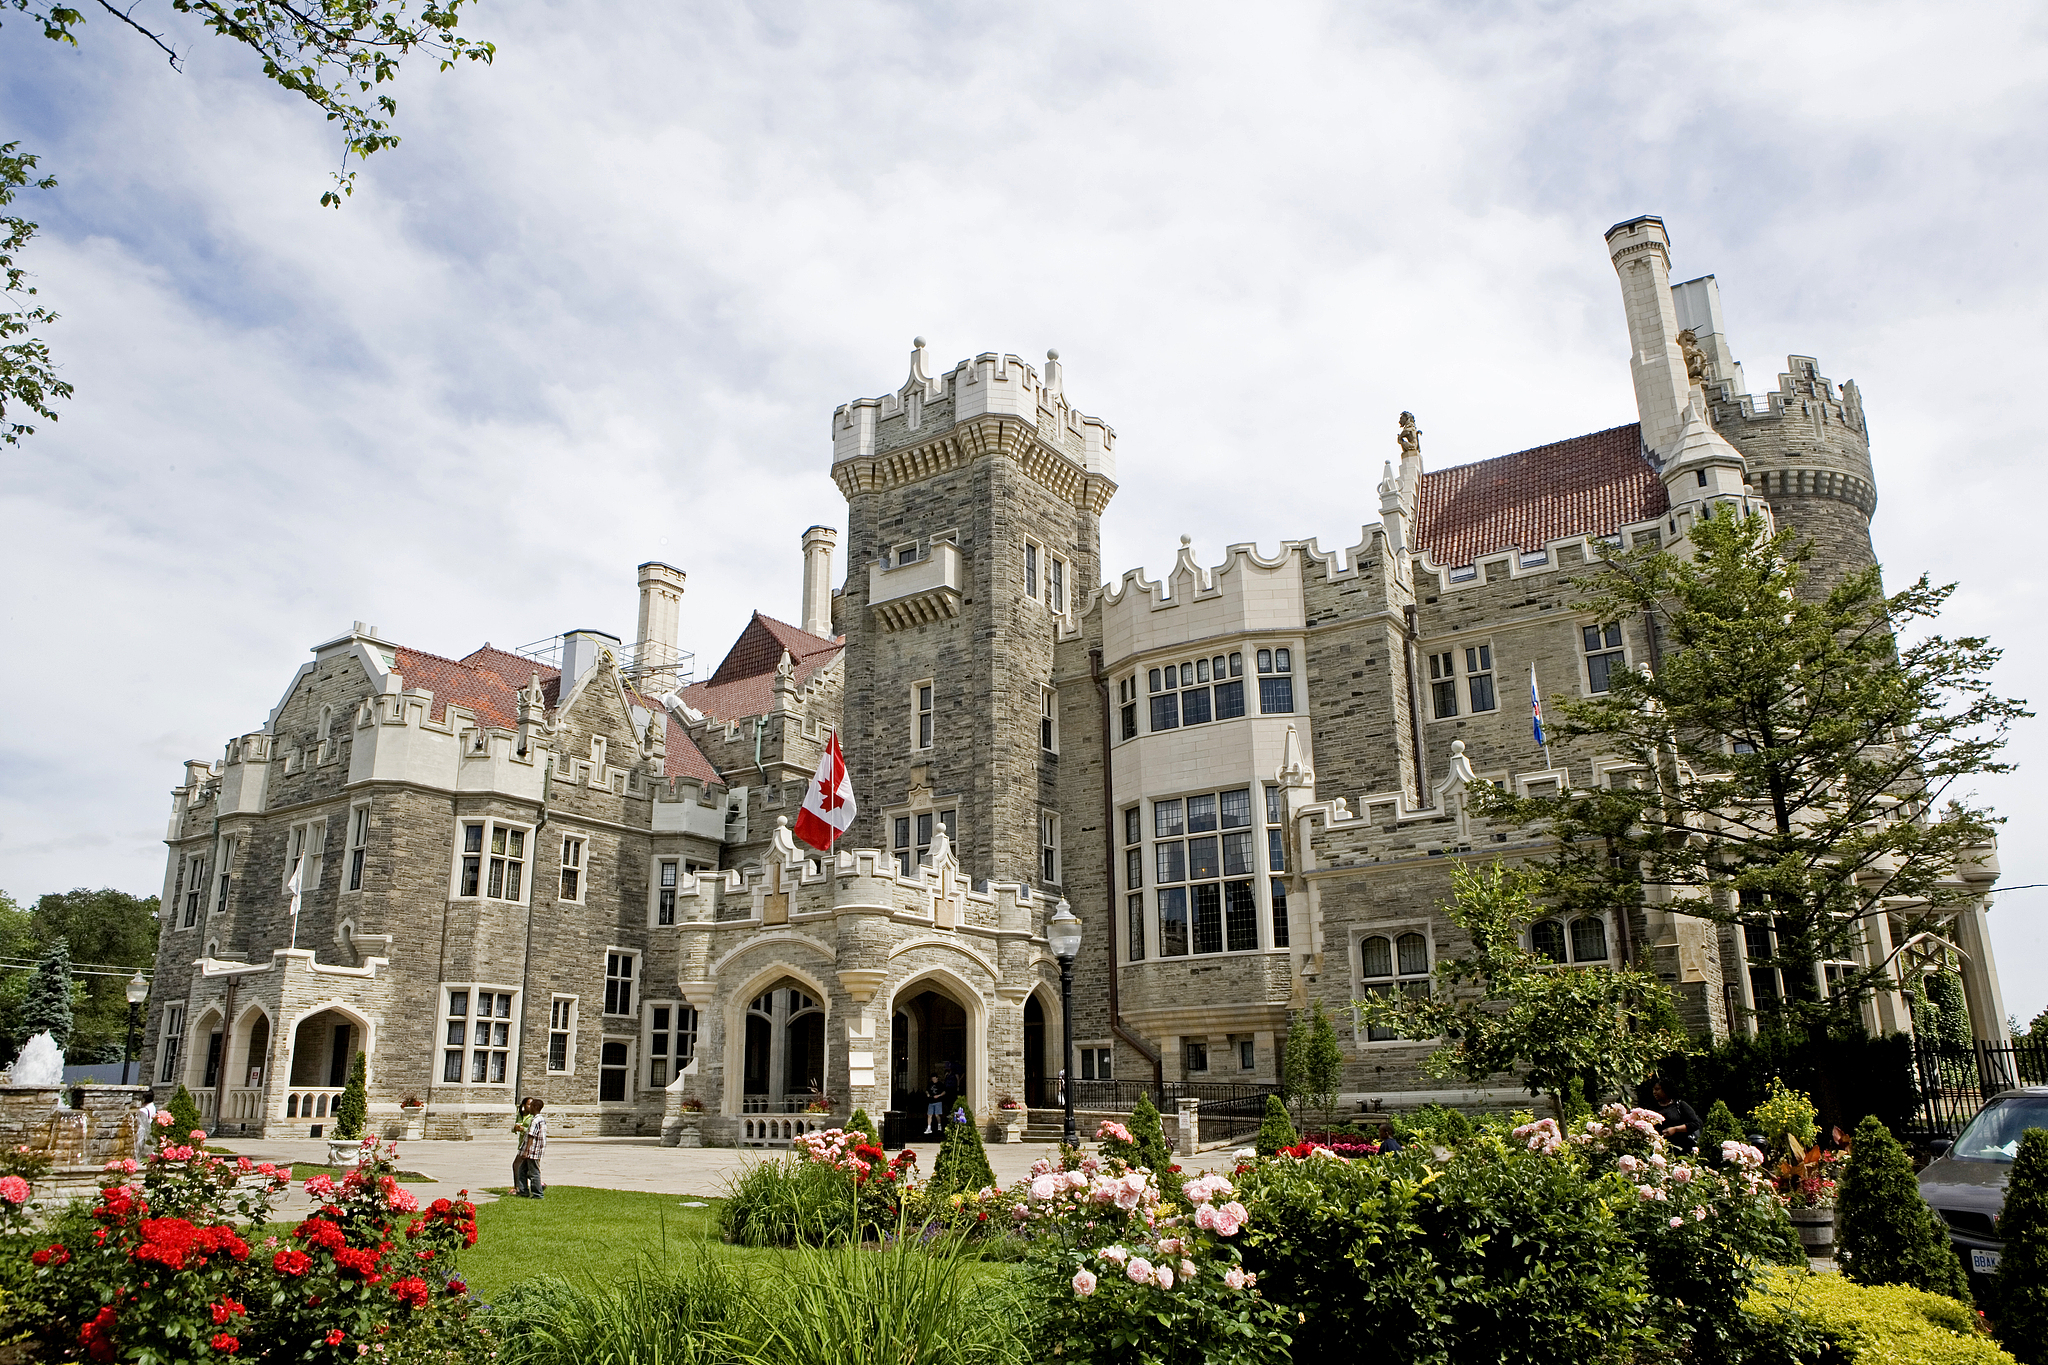
Traveling to Canada is exciting. Whether you’re planning to see Niagara Falls, explore Toronto, visit family, or enjoy food like poutine for the first time, good preparation makes the trip much smoother.
If you are a Filipino traveler flying to Canada, there is one important thing you must check before booking your flight: whether you need a Canada eTA or a Canadian visitor visa.
This guide explains everything clearly, based on official rules, so you know exactly what applies to you.
What’s the Canada ETA?

The Canada eTA (Electronic Travel Authorization) is an online travel authorization required for certain visa-exempt travelers flying to Canada.
It is electronically linked to your passport, so there is nothing to print. Airlines and Canadian immigration officers can see your eTA automatically when your passport is scanned.
However, the Canada eTA is NOT available to all Filipino travelers.
✅ Official Rule
Filipino passport holders still generally need a Canadian visitor visa to enter Canada.
However, some Filipino travelers may be eligible to apply for a Canada eTA instead of a visitor visa, only if they meet specific conditions set by the Government of Canada.
If you do not meet these conditions, you must apply for a regular Canadian visitor visa.
Unlock the Best Flights to Canada
- One way
- Round-trip
 MNL3:10 AM28h 35m1 stopsYVR4:45 PMManila - Vancouver|Fri, Aug 21|Korean Air€308€1,38978% offSearch78% off€1,389€308
- MNL1:10 AM30h 35m1 stopsYVR4:45 PMManila - Vancouver|Sat, Aug 22|Korean Air€308€1,38978% offSearch78% off€1,389€308
- MNL11:30 PM32h 15m1 stopsYVR4:45 PMManila - Vancouver|Thu, Aug 20|Korean Air€592€1,38956% offSearch56% off€1,389€592
- MNL11:30 PM32h 15m1 stopsYVR4:45 PMManila - Vancouver|Sun, Aug 23|Korean Air€813Search€813
 MNL2:40 PM15h 10m1 stopsYVR2:50 PMManila - Vancouver|Tue, Jul 28|All Nippon Airways€1,083Search€1,083
 MNL13:0015h 10mNonstopYVR14:00Manila - City|Mon, Sep 6|Normal AirlineFind more flightsFind more flights
Who Is Eligible for the Canada eTA

You may apply for a Canada eTA instead of a Canadian visitor visa only if all of the following apply:
- You hold a valid Philippine passport
- You have either:
- A valid U.S. non-immigrant visa (such as B1/B2), or
- A Canadian visitor visa that is currently valid or expired within the last 10 years
- You are flying to Canada by air
- Your stay is short-term (up to 6 months) for tourism, family visits, or short business trips
- You are not traveling to work or study
📌 Important: Even if you meet all requirements, airlines have the final authority to confirm eTA eligibility at check-in. Travelers who cannot be verified may still be required to apply for a regular Canadian visitor visa.
Who Cannot Use a Canada eTA

You cannot travel to Canada using an eTA if any of the following apply:
- You were recently refused a Canadian visa
- You were previously denied entry to Canada
- You are traveling for work or study
- You plan to stay longer than 6 months
- You are not flying to Canada (for example, entering by land or sea)
📌 Important: Travelers who do not qualify for an eTA must apply for a regular Canadian visitor visa before booking or flying, as airlines will not allow boarding without the correct authorization.
Who Still Needs a Canadian Visitor Visa

You must apply for a regular Canadian visitor visa if any of the following apply:
- You do not have a valid U.S. non-immigrant visa
- You have never held a Canadian visitor visa, or it expired more than 10 years ago
- You are entering Canada by land or sea (for example, driving from the U.S. or arriving on a cruise)
- You plan to stay longer than 6 months
- You are traveling for work, study, or other purposes that require authorization
- You do not meet all Canada eTA eligibility requirements
📌 Important: If you are not eligible for an eTA, you must secure a visitor visa before booking or flying, as airlines will not allow boarding without the correct travel authorization.
How to Apply for the Canada ETA

Step 1: Check Your Eligibility
Before applying, make sure you meet the eligibility requirements. Applying without meeting the requirements may result in refusal, and the fee is non-refundable.
Step 2: Apply on the Official Website
Only apply through the official website:
👉 https://www.canada.ca/eta
Avoid agents and third-party sites.

Step 3: Prepare What You Need
- Valid Philippine passport
- Valid U.S. visa or proof of previous Canadian visa
- Credit or debit card (international payments enabled)
- Active email address
Step 4: Fill Out the Online Form
You will enter:
- Personal details (exactly as shown on your passport)
- Passport information
- Basic travel details
Step 5: Pay the Fee
- Fee: CAD 7
- Payment is done online by card
Step 6: Receive Approval
- Most eTAs are approved within minutes
- Some applications may take up to 72 hours
- Approval is sent by email and linked to your passport
📌 Important: Without an approved eTA, airlines will not allow you to board your flight.
⏳ How Long Is a Canada eTA Valid?
A Canada eTA is usually valid for:
- Up to 5 years, or
- Until your passport expires
(whichever comes first)
You can use the same eTA for multiple short trips to Canada, as long as:
- Each stay is up to 6 months, and
- Your passport remains valid
What You Need to Apply for the Canada ETA

Prepare these before applying:
- Valid Philippine passport
Use the same passport you will travel with. At least 6 months validity is strongly recommended. - Working email address
Your eTA approval will be sent here. - Device with internet access
The application is fully online. - Credit or debit card
The fee is CAD 7 and is non-refundable.
📌 Important: If you renew or change your passport after approval, your eTA becomes invalid and you must apply again using your new passport.
Your Essential Canadian To-Do List
 333 booked
Other Documents You Might Need When Entering Canada

Along with your approved Canada eTA, immigration officers may ask to see additional documents when you arrive. It’s best to have everything ready to avoid delays.
Here’s what Filipino travelers flying to Canada should prepare:
🛂 1. Valid Philippine Passport
Your passport should be:
- Valid for the entire duration of your stay
- In good condition (no tears, missing pages, or damage)
🎟️ 2. Return or Onward Ticket
This shows you plan to leave Canada within the allowed stay.
- Confirmed return or onward flight ticket
- Digital copy is usually enough, but a printed copy is useful, especially at NAIA
📌 Tip: One-way tickets may raise questions at both Philippine and Canadian immigration.
🏨 3. Proof of Accommodation
You may be asked where you will stay.
- Hotel or Airbnb booking confirmation, or
- Full address if staying with family or friends
- Invitation letter is helpful if staying with someone for an extended period
📅 4. Travel Itinerary (Optional but Helpful)
Not required, but useful for first-time travelers.
- Simple plan showing cities and activities
- Can be saved on your phone or printed
💳 5. Proof of Funds
Officers may ask how you will support yourself during the trip.
- Recent bank statement or screenshots
- If sponsored, bring a support letter and sponsor’s financial proof
📌 Tip: You only need to show you can cover basic expenses. No need to carry large amounts of cash.
✅ 6. Approved Canada eTA
This is your digital travel authorization.
- Must be approved before your flight
- Keep a copy of the confirmation email or screenshot
📌 Important: Without a valid eTA, airlines will not allow you to board your flight.
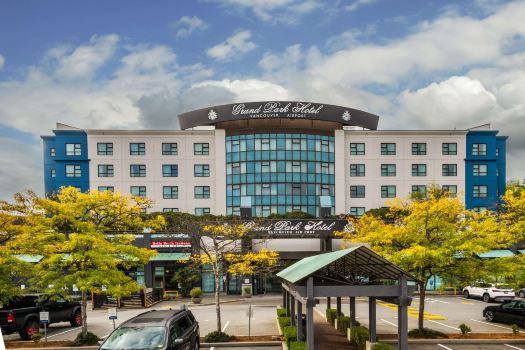
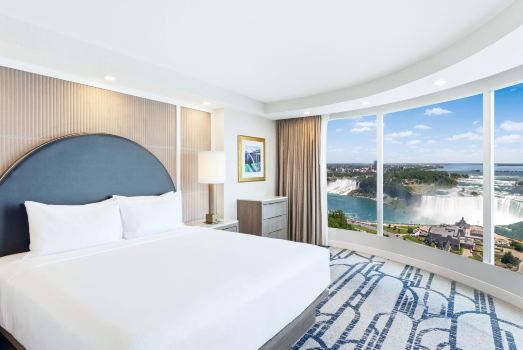
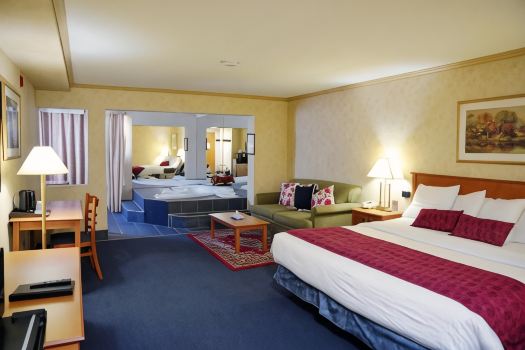
Explore the Top Places to Stay in Canada


Tips for a Smooth Arrival in Canada
No matter what your Canada trip looks like, a little preparation goes a long way. These tips will help make your arrival smooth, especially if it’s your first time traveling as a Filipino using the Canada eTA.
✅ 1. Apply for the Canada eTA Before Your Flight
No eTA means no boarding. Even with a valid passport and ticket, airlines will not allow you to fly without it.
When to apply:
- After booking your flight and first-night stay
- With your passport and basic details ready
- Ideally 3–5 days before departure (earlier is always better)
📲 2. Save a Copy of Your eTA Approval
Once approved, your eTA is sent by email and linked to your passport.
You usually won’t need to show it, but it’s best to:
- Take a screenshot
- Save the email on your phone or cloud storage
- Print a backup copy, especially in case of weak Wi-Fi at NAIA
Airline staff or immigration officers may ask if you already have your eTA.
🏨 3. Prepare Your Accommodation Info and Travel Plan
Canadian immigration officers often ask:
- Where will you stay?
- How long is your trip?
- What is the purpose of your visit?
Have ready:
- Hotel or Airbnb booking confirmation, or
- Full name and address if staying with family or friends
📌 Clear and simple answers help show genuine travel intent.
📁 4. Keep All Travel Documents in One Place
Whether digital or printed, keep copies of:
- Passport
- eTA confirmation
- Flight tickets (including return flight)
- Accommodation details
- Proof of funds
- Invitation letter (if applicable)
- Emergency contact numbers
Store them on your phone, cloud storage, or in a small folder in your bag.
🧘 5. Be Early, Be Honest, Be Calm
Canadian border officers are professional and polite. Just answer truthfully and confidently.
- Arrive at NAIA at least 3 hours before departure
- Answer questions clearly and naturally
- Keep your documents easy to access
There’s no need to memorize answers. Just be honest.
✍️ Bonus: Customs Declaration
When you arrive, some airports may still require a customs declaration.
You may need to declare:
- Food items
- Gifts
- Cash above allowed limits
This is usually quick and straightforward. Forms are provided on the plane or after landing. Bringing a pen can be helpful.
Recommended eSIM Options for Canada
Start Your Canada Trip Right
Traveling to Canada is exciting, whether it is your first trip or a long-awaited visit with family. A smooth journey starts with proper preparation.
Apply early, organize your documents, and book your flights and accommodation ahead of time. A few simple steps can save you a lot of stress.
Safe travels, kabayan. Canada is waiting ❄️
📌FAQ: Canada ETA
-
Do Filipinos need a visa or ETA for Canada?
-
Who needs the Canada ETA?
-
How long does it take to get approved?
-
Is a printed copy required?
-
Is the ETA valid for one trip only?
Trending Searches
-
Popular Content
-
Top Flight Links
-
Popular Hotels
-
Popular Things to Do
-
Featured guides
-
Trip.com links
- Trip.com E-Ticket
- Trip.com Payment Methods
- Trip.com Passport Change
- Trip.com Customer Service
- Trip.com Flight Cancellation
- Trip.com VIP Lounge Access
- Trip.com Phone Number
- Trip.com Check In
- Payment Sale
- Trip Coins
- Trip.com Hotel Refund
- Trip.com Cancellation Policy
- Trip.com Ticket Issued Status
- Trip.com Flight Ticket
- Trip.com Membership
- Trip.com E-Receipt
- Trip.com Seat Selection
- Trip.com Baggage Allowance
- Trip.com Flight Change
- Trip.com Reviews
- Cheap tickets from Bacolod to Manila
- Cheap tickets from Manila to Singapore
- Cheap tickets from Kuala Lumpur to Manila
- Cheap flights from Manila to Cebu
- Cheap flights from Manila to Caticlan
- Plane tickets from Manila to Bacolod
- Cheap tickets from Manila to Bangkok
- Cheap tickets from Cebu to Manila
- PR2149 Flight Status
- TG624 Flight Status
- Z2218 Flight Status
- K6830 Flight Status
- PR2343 Flight Status
- 3U3960 Flight Status
- 5J5057 Flight Status
- Hotels near SM City Dasmarinas
- Hotels near Paseo Destino
- Hotels near Changbai Mountain Club Med Mediterranean Hot Springs
- Hotels near Ngurah Rai International Airport
- Hotels near Patria De Cebu Inc
- The Seven Clark Condo
- Ibis Hotel (Nantong Tongzhou Bay)
- Crystal Orange Qingdao Golden Beach
- City Suites Taoyuan Station
- Panglao Regents Park Resort
- Hotels in Duren
- Hotels in Tokyo
- Hotels in Hegang
- Hotels in Pasig
- Hotels in Osaka
- ※1-day private charter tour to Xuankong Temple + Yungang Grottoes in Datong
- Philippines 5G eSIM | TikTok & ChatGPT Available | Day Pass/Total Data Package | 24-Hour Billing | 1-30 Days | QR Code
- Chengdu Departure - Bipenggou Shuttle Bus
- Explore Guilin with Ease: Premium Private Car Service
- Ben Thanh Princess Dinner Cruise on Saigon River | Ho Chi Minh city
- Asia & Oceania 4G/5G eSIM | Daily/Total Data Package | 1–30 Days | 24-Hour Billing | QR Code
- Vietnam | 4G/5G eSIM | Daily/Data Plan | 24-hour Billing | 1-30 Days | QR code
- Mainland China/Hong Kong/Macau 5G eSIM | Day Pass/Total Data Package | 24-Hour Billing | QR Code
- Valley of the Moon | Stunning sunset tour in Atacama
- Florence: Small-Group Sunset Food & Wine Tour in Oltrarno
- Private small group day tour of Mutianyu Great Wall in Beijing: multilingual guides available.
- From London: Churchill War Rooms & Blenheim Palace Day Trip
- Gyoza Package Voucher - Choose One of Four Options
- Antalya Traditional Turkish Bath Experience With Hotel Pickup
- Yima Trip Moments