

Australia ETA Guide: Eligibility, Application & Entry Tips
Just got back from New Zealand — what a trip! But quick tip if you're from the Philippines: don’t forget to apply for the NZ ETA (Electronic Travel Authority) before your flight.
It’s not a visa, but you still need it to enter. I nearly forgot and had to rush it last minute. Good thing it was fast — just an online form, small fee, and done in a few minutes.
Do it early so you don’t stress before your flight. Once that’s sorted, you can focus on the good stuff — like planning your trip and enjoying every moment.
📄 What’s the Australia ETA?

Sydney Opera House, koalas, amazing beaches — it’s all waiting. But before your flight from the Philippines to Australia, here’s something you need to do: apply for the Australia ETA (Electronic Travel Authority).
✈️ No one wants last-minute stress at the airport or delays at immigration after a long flight. I’ve been there — jetlagged, half-asleep, and just wanting to get through the airport fast.
🎒 So, what is it?
The Australia ETA is an online travel pass for short stays. It’s for Filipinos too, if you're eligible. You’ll need to fill in:
- Passport details
- Travel dates
- Where you’ll stay
Once approved, it links to your passport — no printouts needed.
🛃 Why should Pinoy travellers care?
Because it makes arrival in Australia way easier.
✅ Faster entry
✅ No paper forms
✅ No airport hassle
✅ Just scan and go
Your Essential Australia To-Do List
 19172 booked
![12 apostles 90 minutes/no backlight] Melbourne Great Ocean Walk + Twelve Apostles 1-day tour](https://ak-d.tripcdn.com/images/0350j12000s9azdr660DC_C_568_320.jpg)
![[Mercedes-Benz Special Offer /Three Cable Cars/Three Sisters Peaks] Sydney Blue Mountains National Park Day Trip](https://ak-d.tripcdn.com/images/0356z12000tnlxh39F2E9_C_568_320.jpg)
![[Affordable Price for Tomorrow] Melbourne Puffing Billy Steam Train + Phillip Island & Penguin Island Day Trip](https://ak-d.tripcdn.com/images/0353412000owxc2zf0430_C_568_320.jpg)
![Melbourne Puffing Billy Steam Train + Penguin Island Day Tour [Visit two popular attractions in one day]](https://ak-d.tripcdn.com/images/0354912000fpb4lik6129_C_568_320.jpg)

👥 Who Needs to Apply for the Australia ETA?

Bondi Beach, kangaroos, and that Aussie sunshine — sounds like a dream. But before you pack your bags, there’s one thing you need to take care of: the Australia ETA.
It’s simple, it’s online, and yes — Filipino travellers need it if they’re eligible for visa-free short stays.
📌 Here’s who should apply:
✅ You’re flying to Australia
Whether you’re landing in Sydney, Melbourne, or Perth — if you’re entering Australia for a short trip, you need the ETA.
✅ You’re visiting short-term
Planning a holiday, visiting family, or joining a short course? As long as you’re staying under 3 months, this is for you.
✅ You don’t have an Australian visa
If you don’t hold a visa or residency in Australia, the ETA is your entry pass.
📝 How to Apply for the Australia ETA
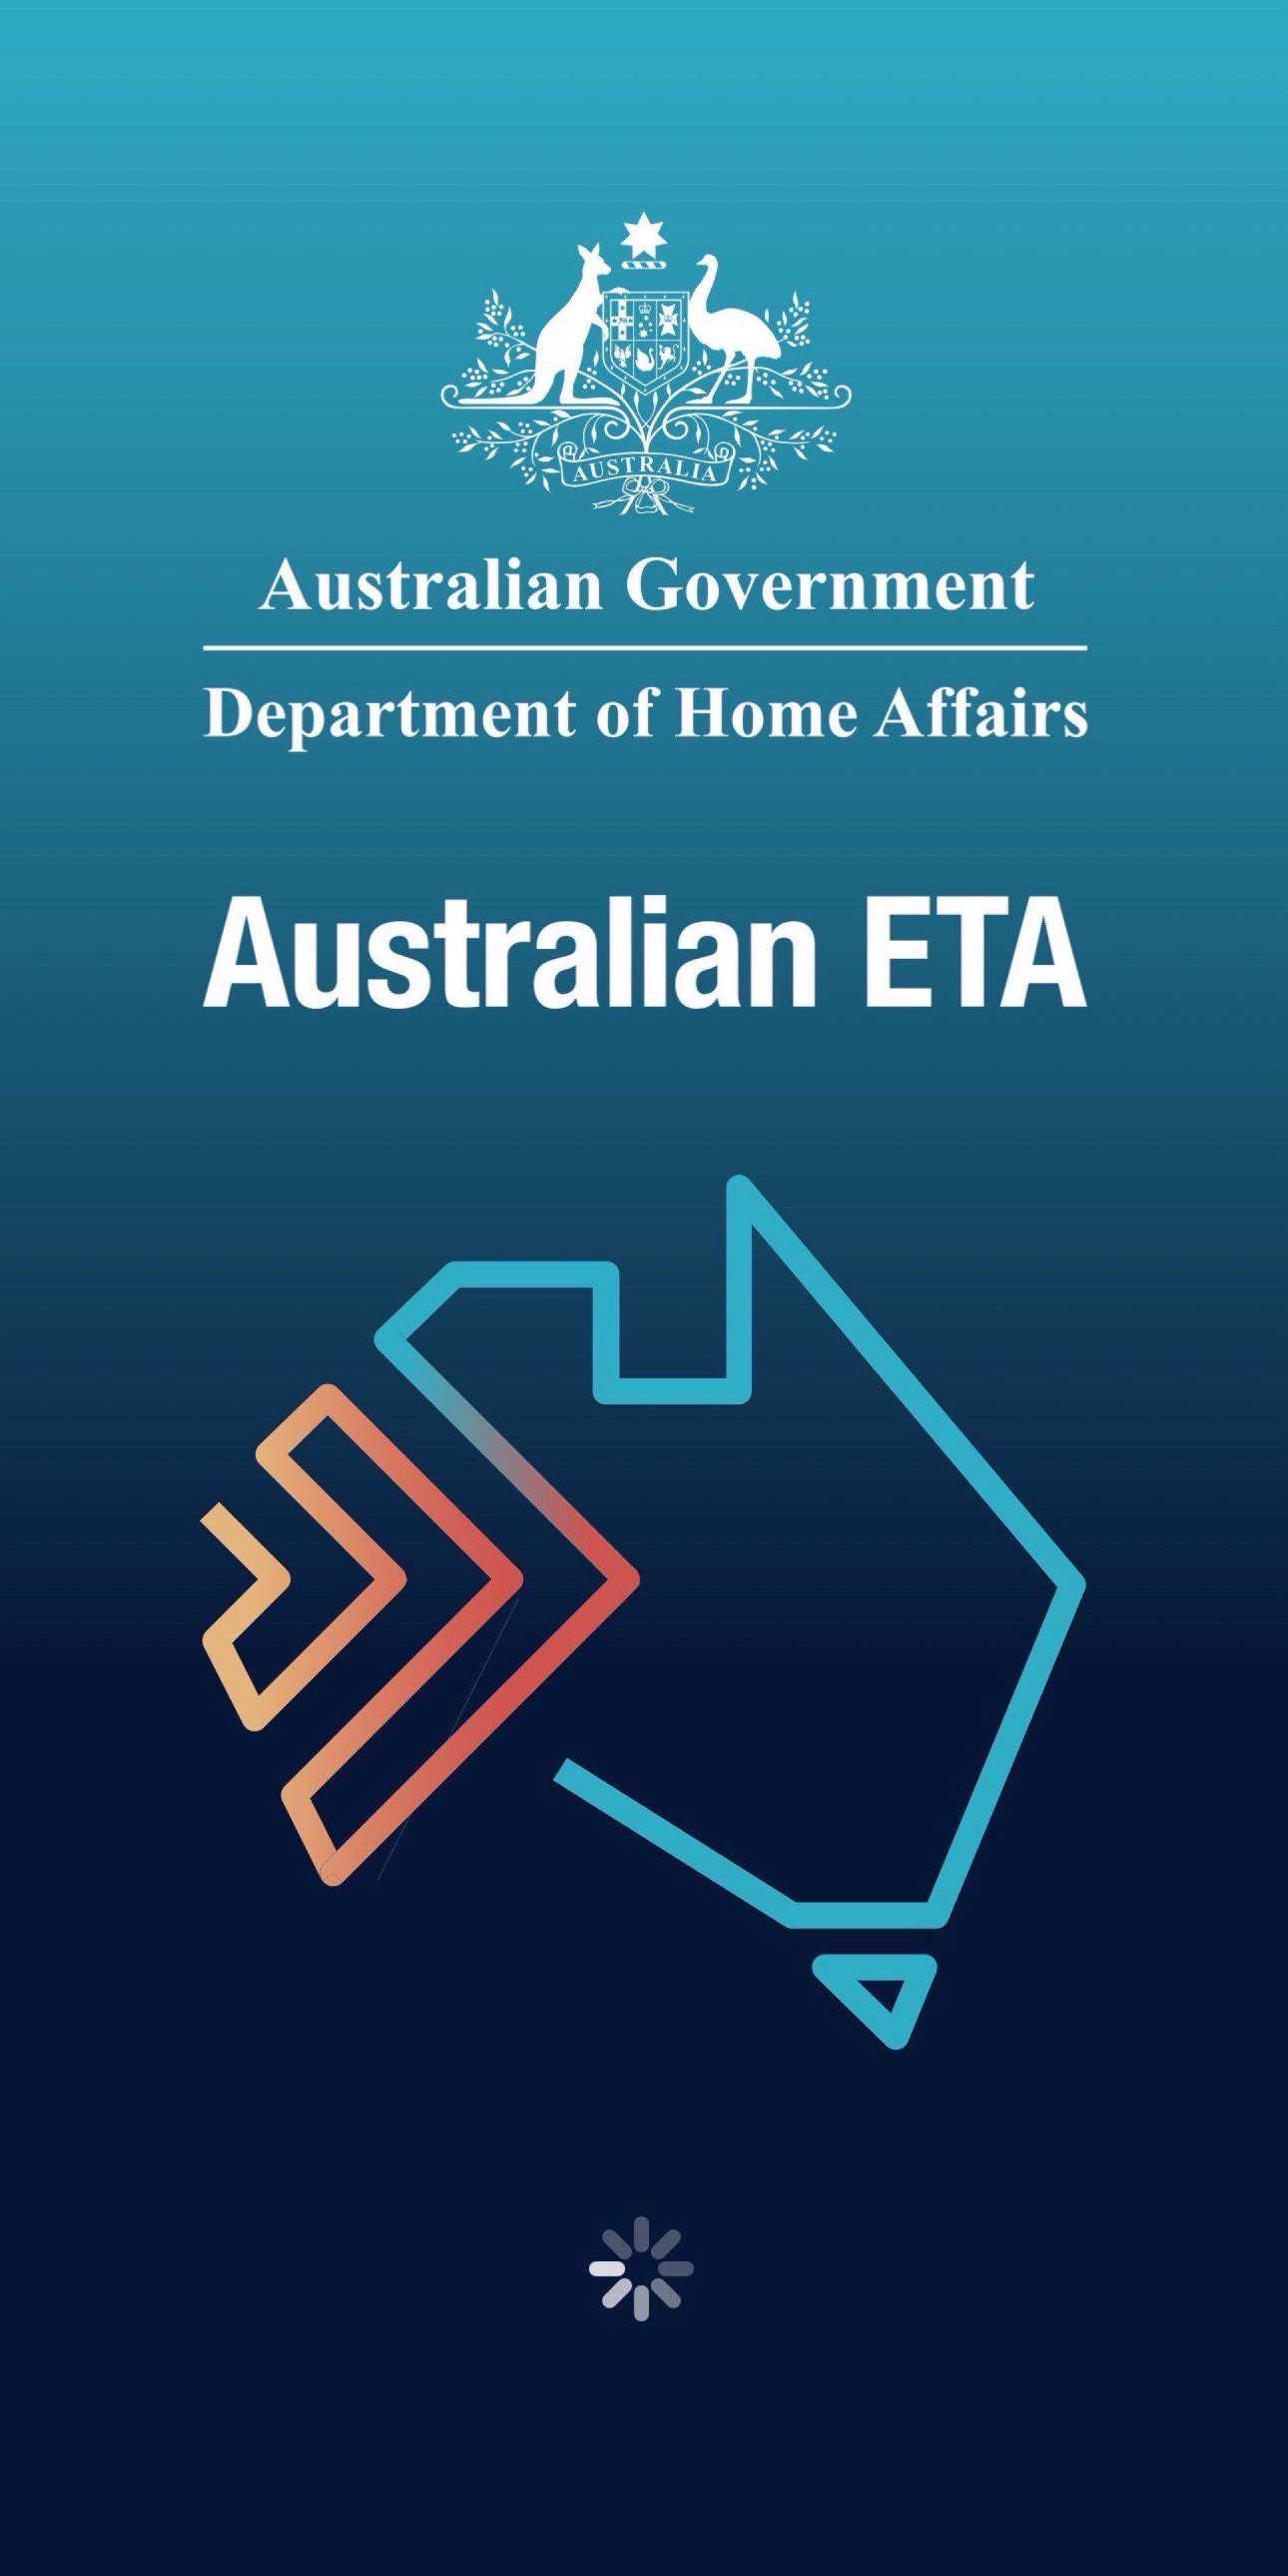
Before you book that flight to Sydney or Melbourne, make sure you’ve sorted your Australia ETA (Electronic Travel Authority).
No need to go to the embassy. No long lines. Just an online process you can do in one sitting. Here's how:
🔗 1. Go to the Official Australian ETA App or Website
Download the Australian ETA app from the App Store or Google Play, or visit the official immigration site.
👉 Avoid random travel sites that charge extra.
🛂 2. Start a New Application
Open the app or website, and choose “Apply for ETA.”
You’ll be asked to enter details from your Philippine passport — make sure everything matches exactly.
📝 3. Fill In Your Personal Info
You’ll need to enter:
- Full name (same as passport)
- Nationality (Philippines)
- Date of birth
- Passport number and expiry
- Place of birth
🔍 Triple-check for errors — even small typos can mess things up.
✈️ 4. Add Your Travel Details
Input your:
- Planned arrival date in Australia
- How long you’ll stay (max 3 months)
- Where you’ll stay (hotel, friend’s place, etc.)
- Purpose of visit (holiday, family visit, short course, etc.)
🏡 Even if it’s a short trip, having a clear plan makes immigration smoother.
📷 5. Upload a Photo (if asked)
Some applicants may need to upload a passport-style photo.
Make sure it’s:
- Clear, no filters
- Light background
- No glasses or hats
📸 Think passport photo, not Facebook selfie.
💳 6. Pay the ETA Fee
The fee is small (around AUD $20).
You can pay using a credit or debit card.
💡 Make sure your card works for international payments before you apply.
📩 7. Wait for Approval
You’ll get a confirmation — sometimes within minutes, but it can take up to 3 days.
No need to print — just keep a digital copy on your phone.
Find the Best Hotels in Australia
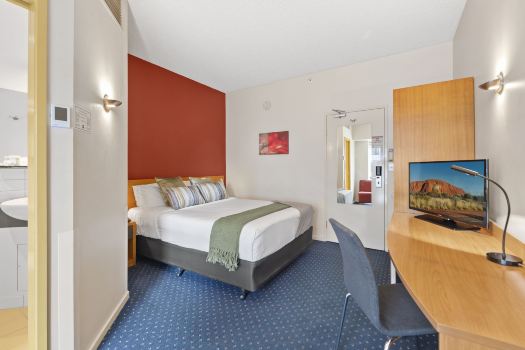

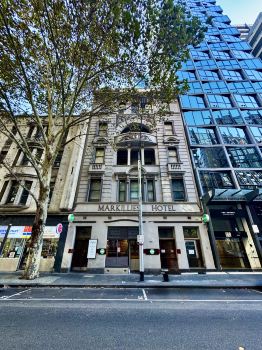
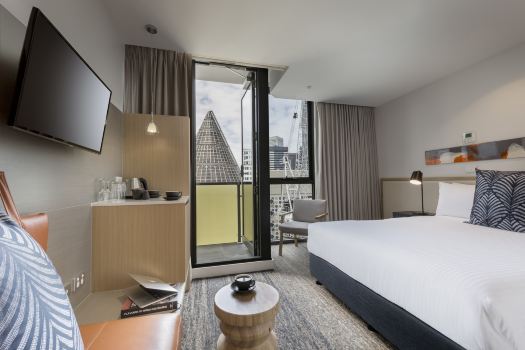
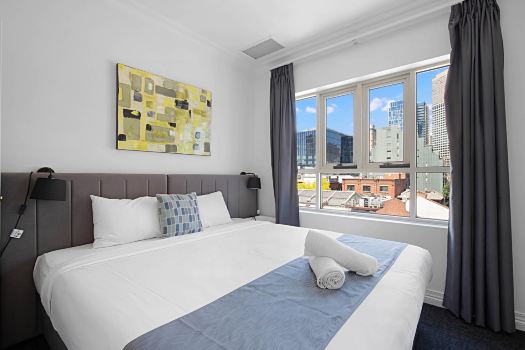

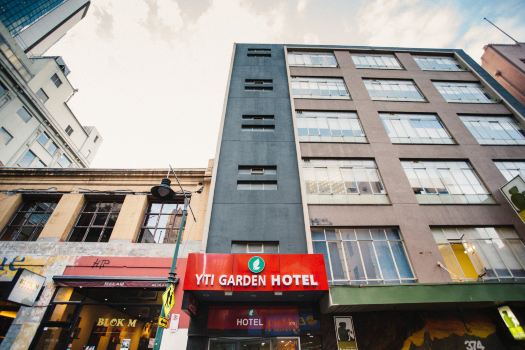
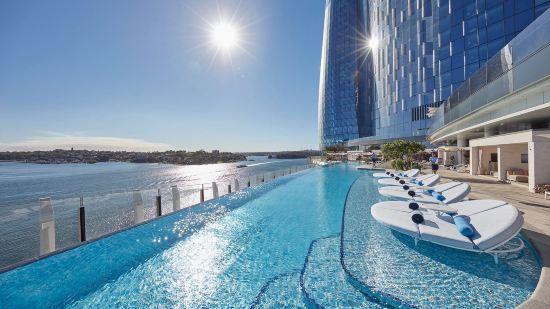

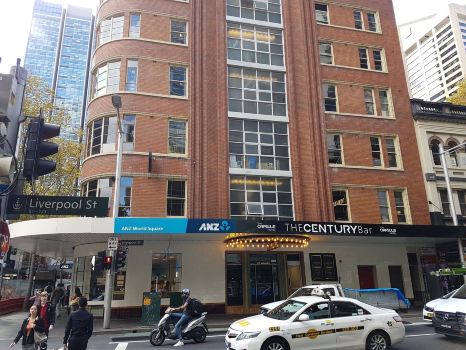
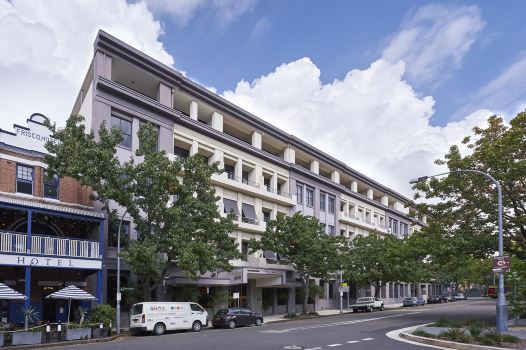

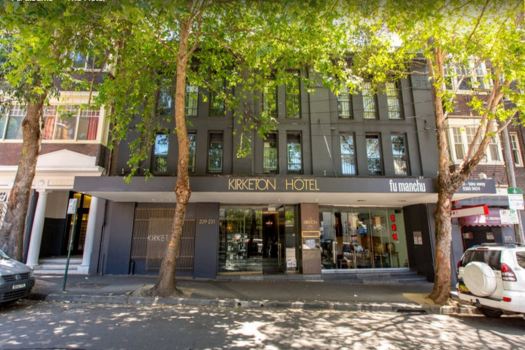

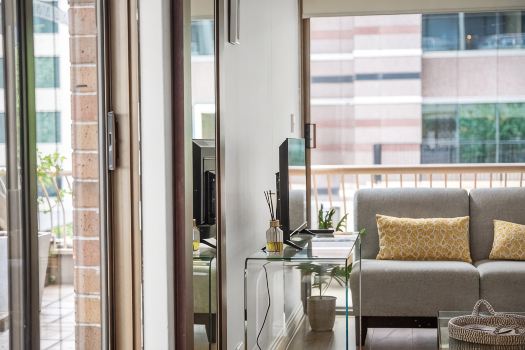

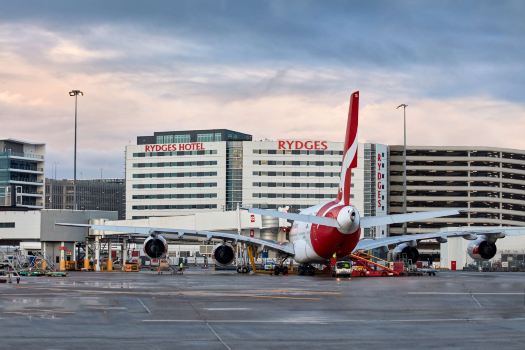





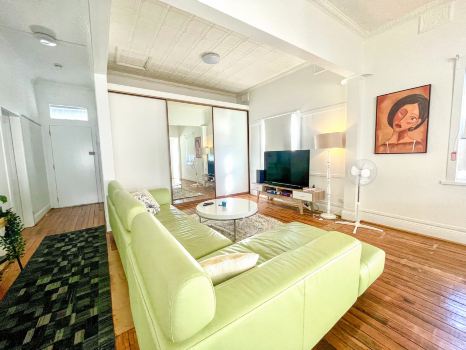
💼 What You Need to Apply for the Australia ETA

Here’s what you need to apply for the Australia ETA — especially for first-time Filipino travellers:
Take 10–15 minutes max, as long as you have everything ready.
| Required Item | Notes for Filipino Travellers |
|---|---|
✈️ Valid Philippine Passport | Make sure it’s valid for at least 6 months beyond your travel date. Use the same passport you’ll bring to the airport. |
📱 Smartphone or Tablet | You’ll apply using the official AustralianETA app (Apple or Google Play). A stable internet connection is a must. |
📧 Email Address | Needed to create your account and receive updates. Use a working email you check often. |
🧍 Personal Details | Full name, birthdate, gender, nationality, and passport number — must match your passport exactly. Double-check! |
🛫 Travel Plans | When are you arriving? Where will you stay? Even a rough itinerary helps — have your flight and accommodation info ready. |
🏨 Place of Stay | Hotel, Airbnb, friend’s house, or family — make sure to note the full address. Screenshots of bookings help. |
📷 Photo of Passport | You’ll be asked to upload the main page of your passport. Make sure the image is clear, no glare or blur. |
💳 Credit or Debit Card | Fee is around AUD 20. Use a card that works for international payments. Double-check with your bank if unsure. |
📤 Confirmation Screenshot/Email | Once approved, keep a copy of the confirmation email. It’s linked to your passport, but having a screenshot is smart. |
Unlock the Best Flights to Australia
- One way
- Round-trip
- direct cheapest
 MNL5:35 AM6h 50mNonstopPER12:25 PMManila - Perth|Wed, Nov 18|Jetstar AirwaysMXN2,566MXN9,72674% offSearch74% offMXN9,726MXN2,566
 - MNL5:35 AM6h 50mNonstopPER12:25 PMManila - Perth|Fri, Nov 20|Jetstar AirwaysMXN2,877MXN9,72670% offSearch70% offMXN9,726MXN2,877
- MNL5:35 AM6h 50mNonstopPER12:25 PMManila - Perth|Fri, Nov 13|Jetstar AirwaysMXN3,334MXN9,72666% offSearch66% offMXN9,726MXN3,334
 MNL11:00 PM8h 45mNonstopSYD10:45 AMManila - Sydney|Tue, Nov 17|Cebu PacificMXN6,890SearchMXN6,890
- MNL6:55 AM7h 10mNonstopPER2:05 PMManila - Perth|Fri, Oct 23|Jetstar AirwaysMXN7,683SearchMXN7,683
 MNL7:30 PM21h 5m1 stopsPER4:35 PMManila - Perth|Tue, Oct 27|ScootMXN6,519SearchMXN6,519
 MNL13:0021h 5mNonstopPER14:00Manila - City|Mon, Sep 6|Normal AirlineFind more flightsFind more flights
🗓️ Where and When Should You Apply for the Australia ETA?
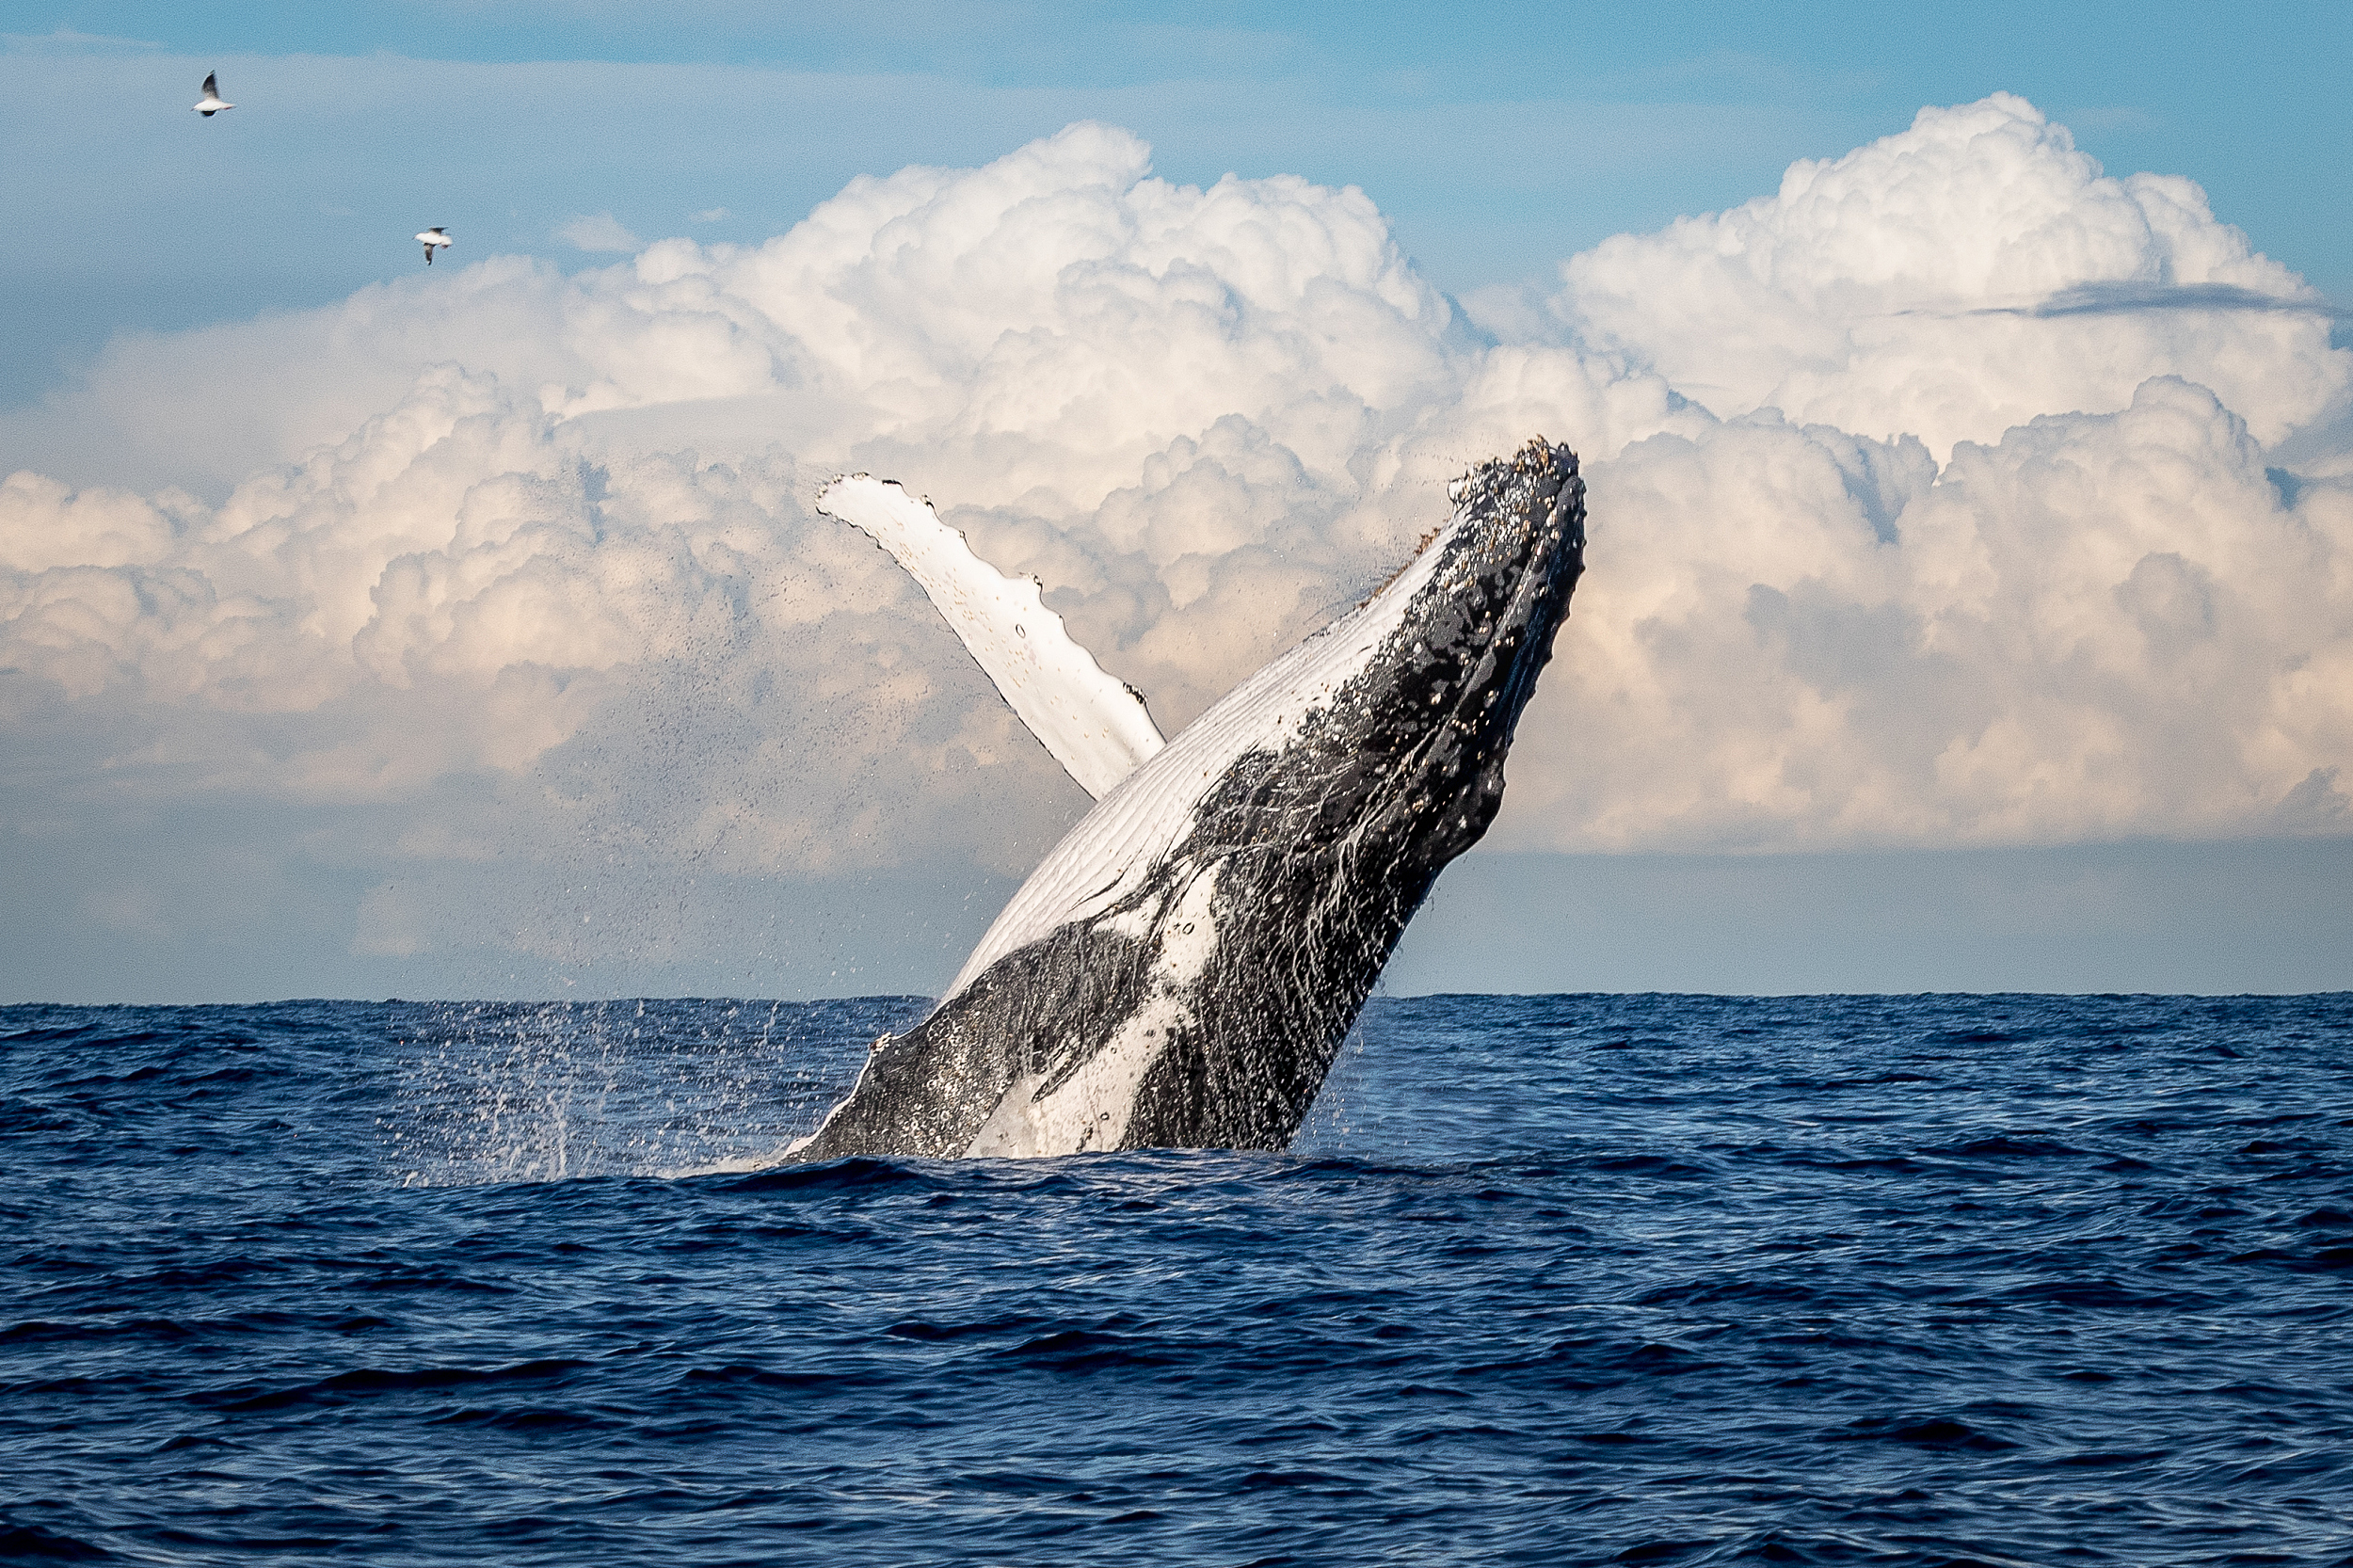
Before anything else, get your Australia ETA sorted. Timing and location make all the difference.
📍 Where to Apply:
💻 Use the official AustralianETA app
Download it from the App Store or Google Play. No need for travel agents, no need to visit the embassy.
🏡 Best: Apply while you’re still in the Philippines
Do it at home — relaxed, Wi-Fi is stable, and you have your passport and documents ready.
✅ Stronger internet
✅ Fewer distractions
✅ Less chance of making mistakes
🛫 At the airport? Don’t risk it.
Technically possible, but:
❌ NAIA Wi-Fi is unreliable
❌ Payment errors can happen
❌ One small typo and your trip is delayed
🛬 On the plane? No way.
The ETA must be approved before you check in. There’s no “apply later” once you're flying.
⏰ When to Apply:
📌 After booking your flight and accommodation
You’ll need to input:
✈️ Your arrival details
🏨 Where you're staying (hotel, relative, etc.)
📅 Best time: 1–2 weeks before your trip
Gives you room to fix anything, like a blurry passport photo or payment issues.
🕐 Minimum: 3 days before your flight
Some approvals take just minutes, but others may take up to 72 hours. Don’t cut it close — no ETA means no boarding.
📂 Other Required Documents for Entry to Australia
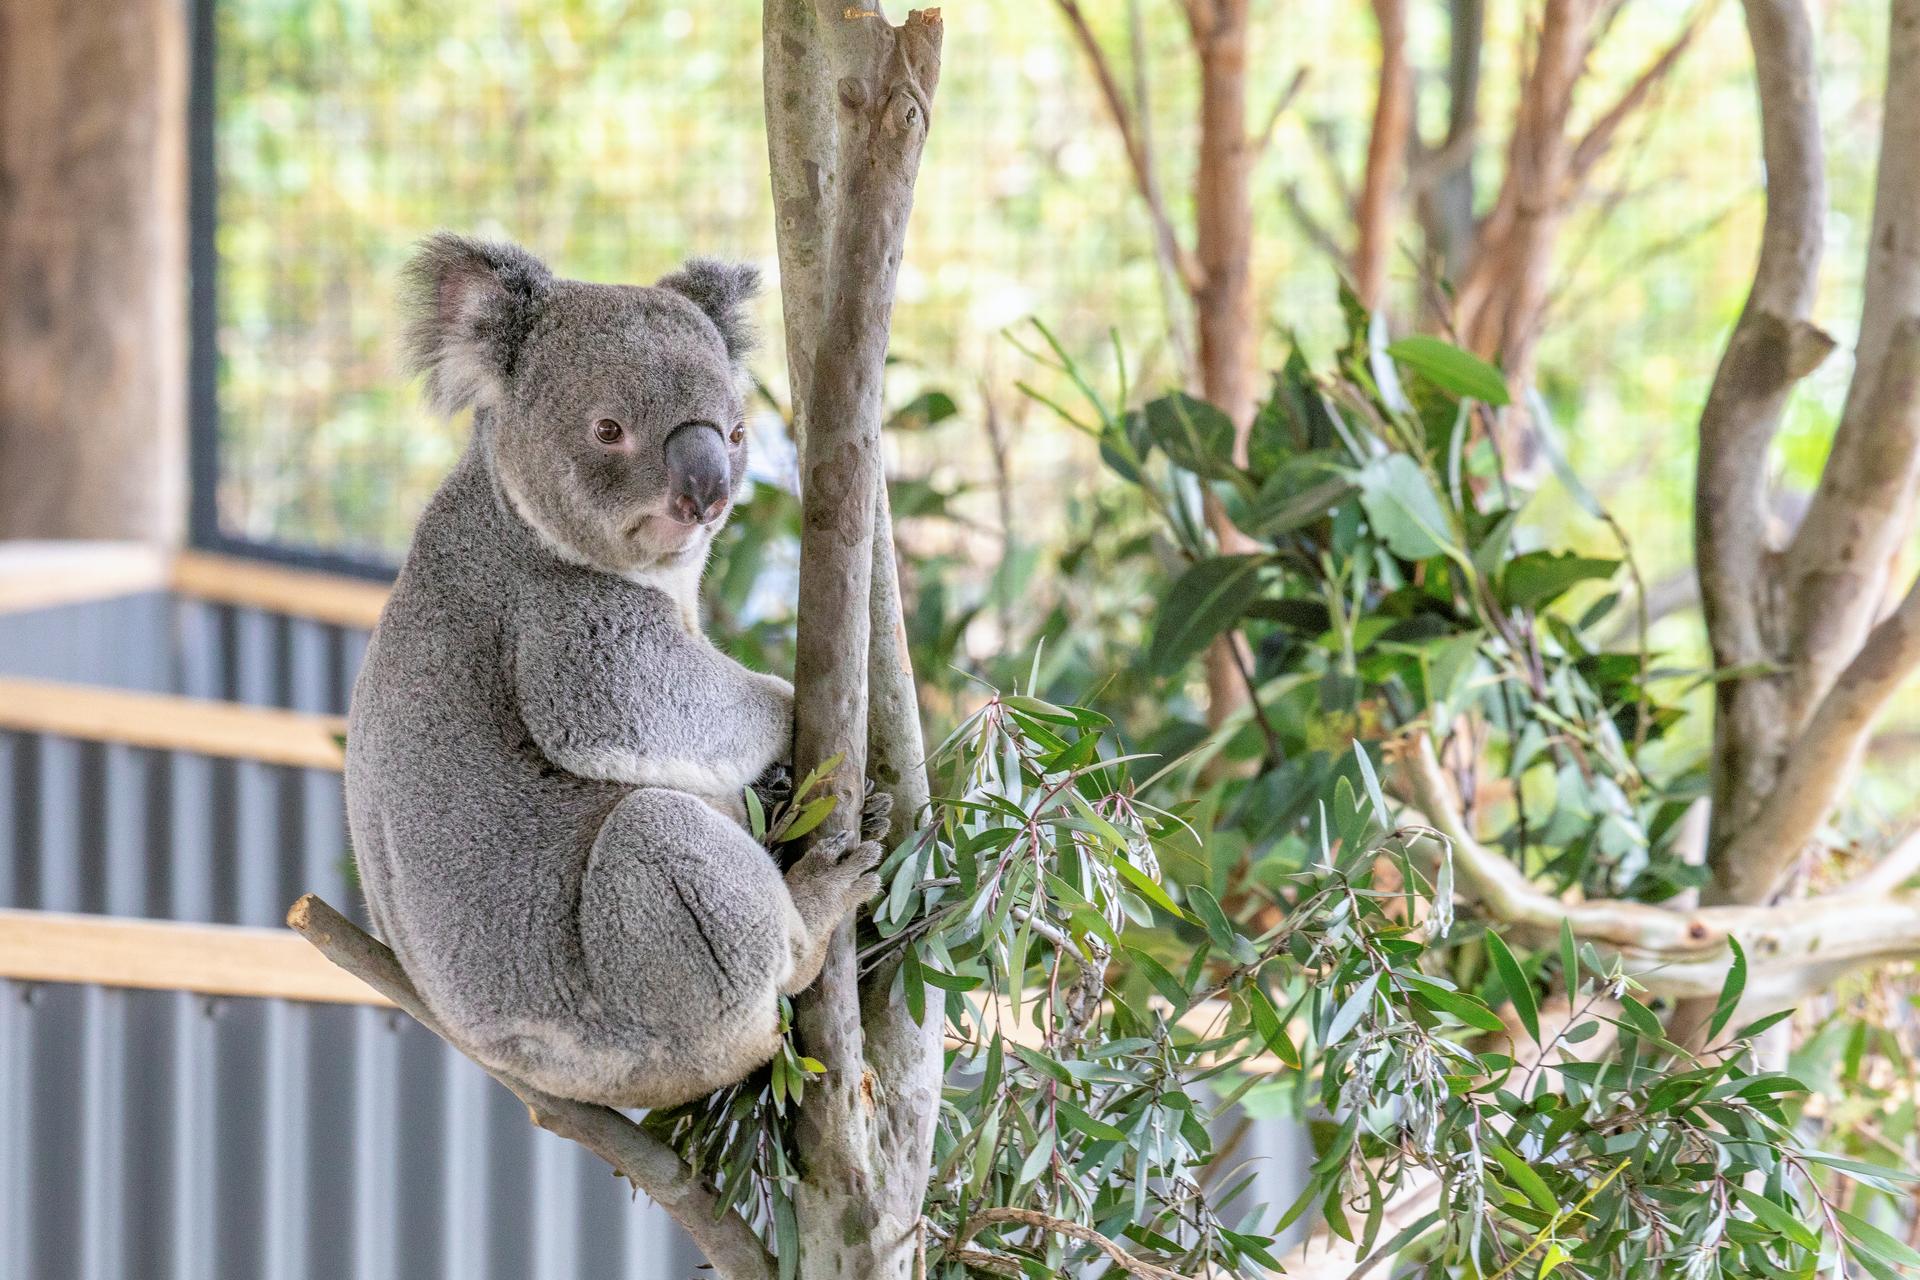
If you’re a Filipino traveler with an approved Australia ETA, here’s what else you should bring for a smooth arrival:
🛂 1. Valid Philippine Passport
Your passport should be:
✅ Valid for at least 6 months from your arrival date
✅ Clean and undamaged — no loose pages, tears, or watermarks
📌 Immigration in Australia is strict. A small passport issue can hold you up — check it ahead of time.
🎟️ 2. Return or Onward Ticket
Australia wants proof that you’re not planning to overstay.
✅ A confirmed return ticket to the Philippines or another country
✅ Screenshot is okay, but a printed copy helps — especially at check-in in NAIA
📌 One-way tickets can raise red flags. Better to be safe than questioned.
🛏️ 3. Proof of Accommodation
Know where you’re staying? Be ready to show it.
✅ Hotel or Airbnb confirmation
✅ If staying with family or friends, bring their full address and contact number
✅ A short letter of invitation (optional but helpful if staying in someone’s home)
🗓️ 4. Travel Itinerary (Optional, but Useful)
Especially if this is your first time in Australia.
✅ A rough schedule: places to visit, dates, where you'll be each night
✅ Even a simple plan on your phone or notebook is fine
📌 It shows immigration you're prepared and just here to visit.
💳 5. Proof of Funds (Sometimes Asked)
Officers might check if you can afford your trip.
✅ Bring recent bank statements (printed or screenshots)
✅ If someone is sponsoring you, prepare a signed letter + proof of their finances
📱 6. Approved Australia ETA
✅ Make sure it's approved before your flight
✅ Keep a screenshot or the confirmation email saved on your phone
✅ No need to print, but it helps in case of tech issues
Unlock the Best Flights to Australia


🧳 Tips for a Smooth Arrival in Australia
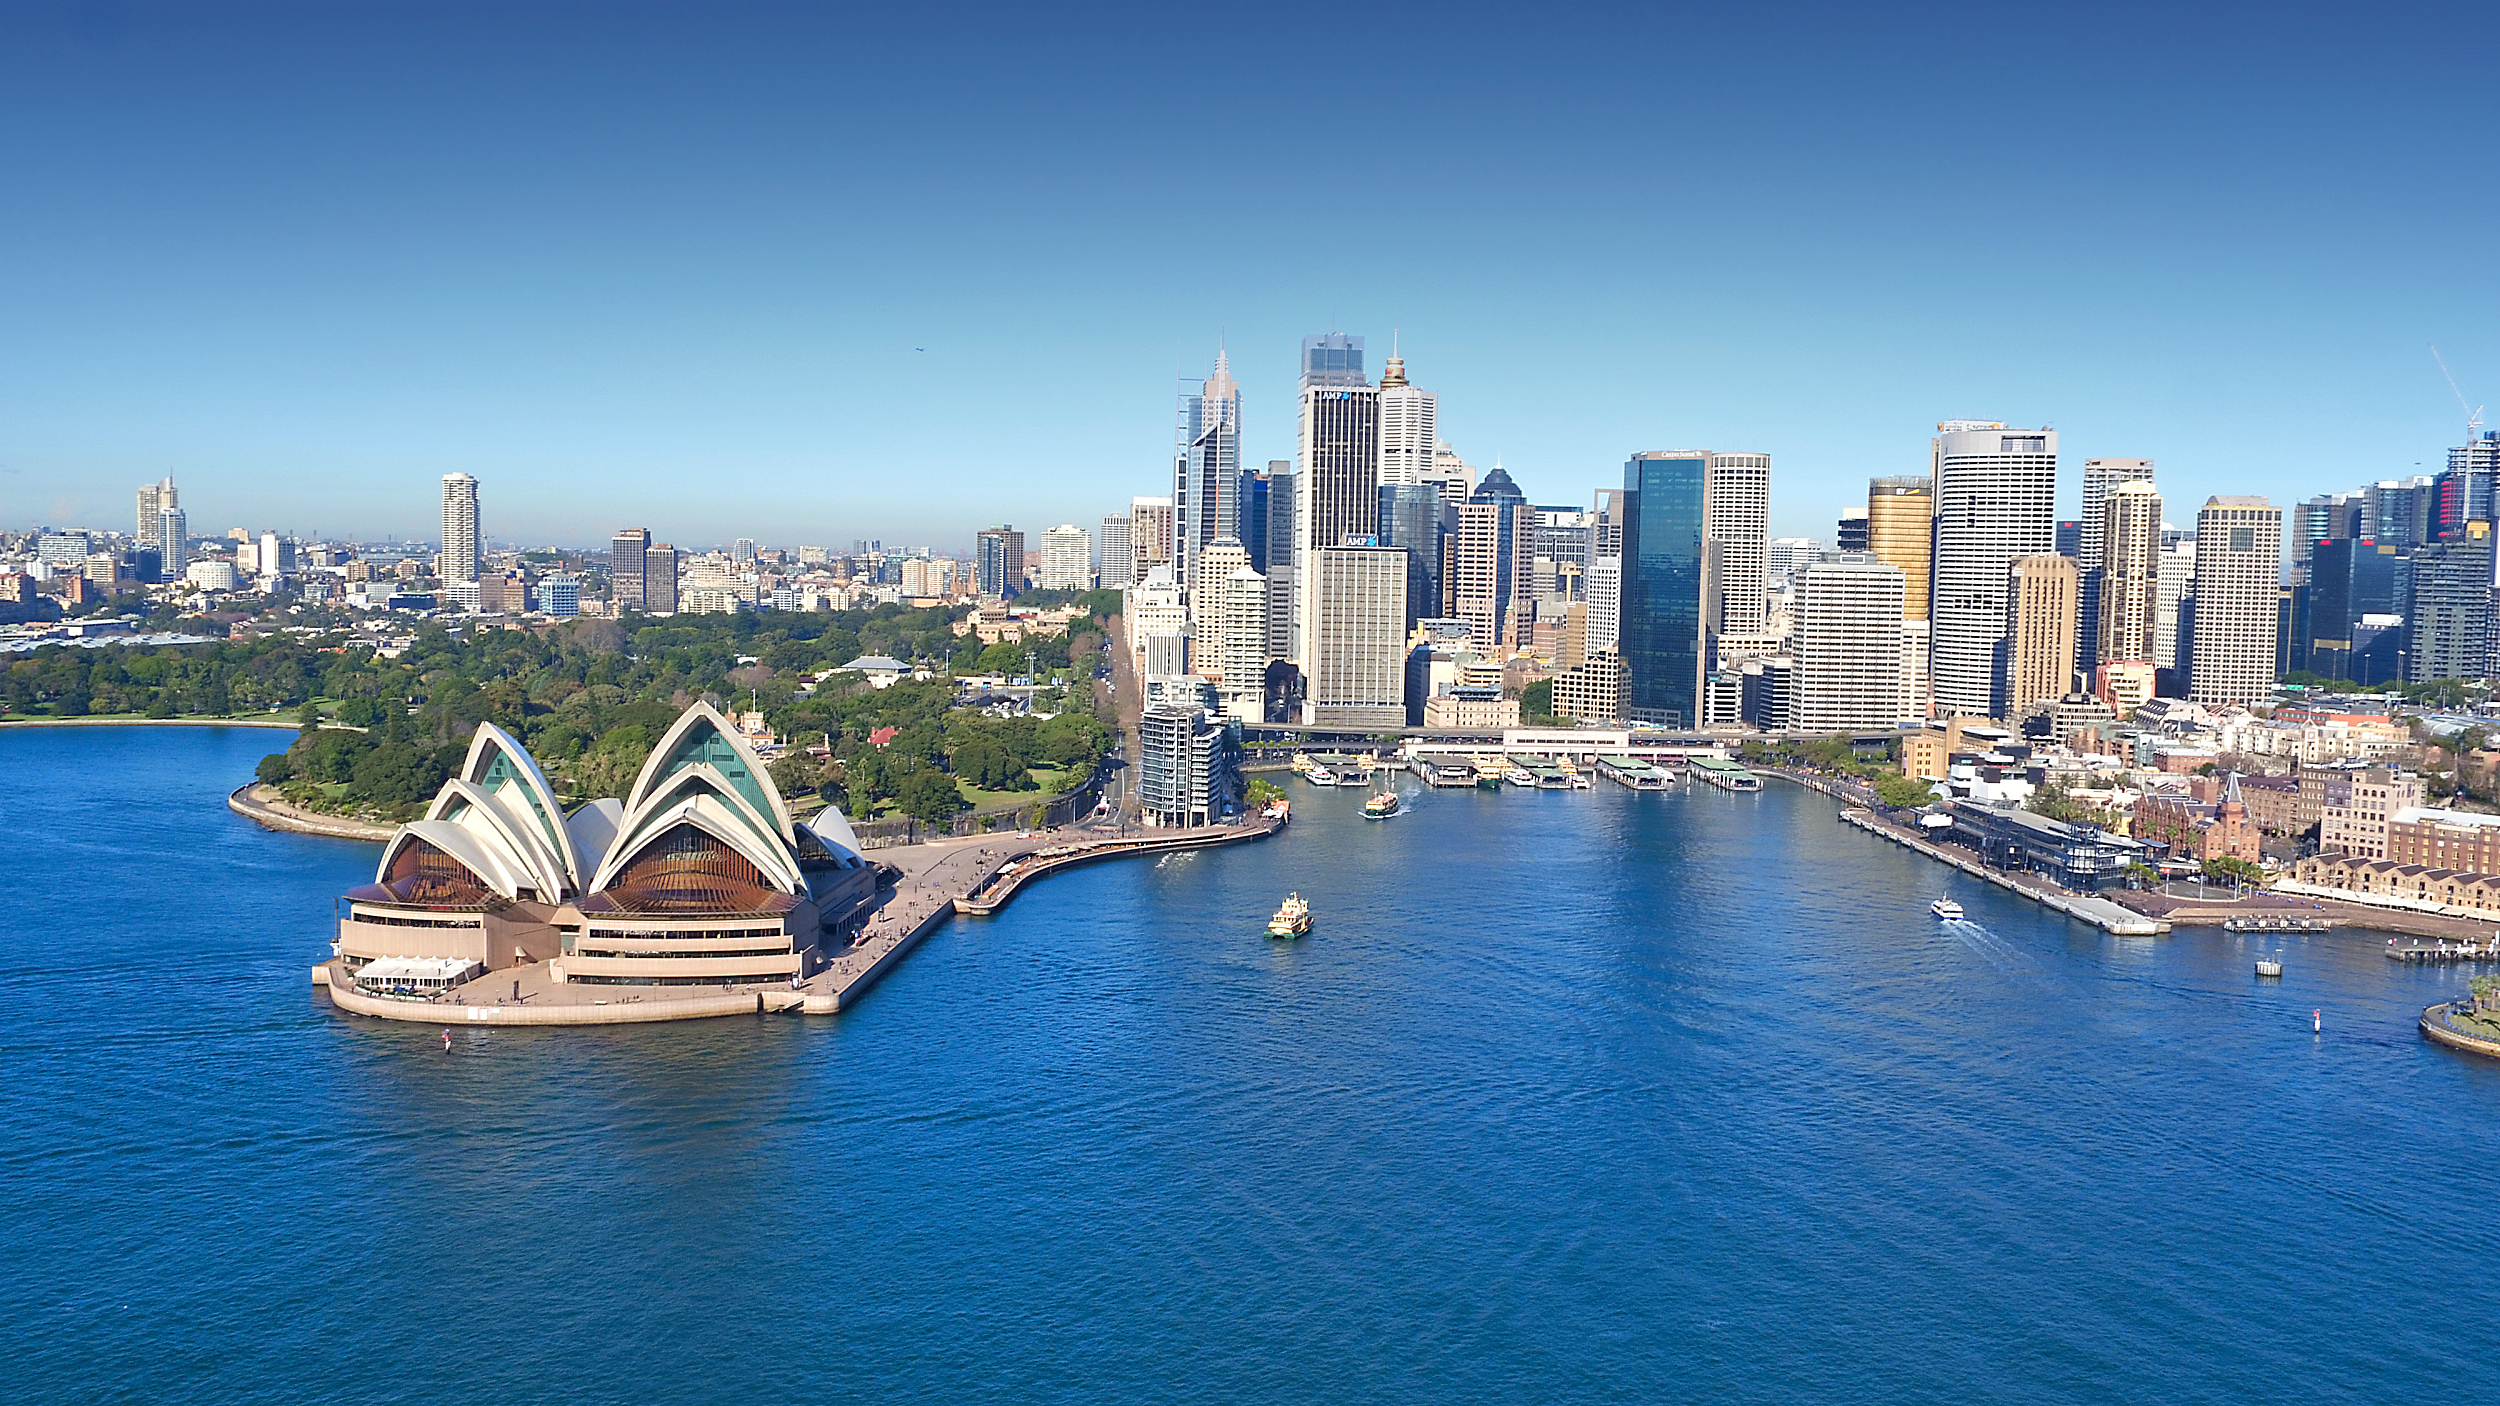
Here’s how Pinoy travellers can make entry to Australia hassle-free:
✅ 1. Apply for Your Australia ETA Before You Fly
No ETA = No boarding. Airlines won’t even let you check in without it.
📝 Apply:
- After booking your flight and accommodation
- With your passport in hand
- At least 3–5 days before your flight
📲 2. Save a Copy of Your ETA Approval
Once approved, your ETA is linked to your passport — but it’s still smart to have proof.
📌 Screenshot the confirmation
📌 Save it to your phone, email, or Google Drive
📌 Print one copy — especially with NAIA’s unstable Wi-Fi
Immigration might ask to see it, especially on arrival in Sydney, Melbourne, or Brisbane.
🏨 3. Be Ready with Your Hotel Info & Travel Plans
Even if you're the “bahala na si Batman” type, immigration will ask:
📍 Where are you staying? (Hotel name + full address)
🗓️ How long is your trip?
🧳 What’s your purpose? (Tourism, family visit, etc.)
Sample answer:
🗣️ “I’m staying at a hotel in Melbourne for 4 nights, then visiting relatives in Adelaide for a week.”
📁 4. Keep All Travel Documents Together
Have both digital and printed copies of:
✅ Flight tickets (especially return)
✅ Hotel or Airbnb bookings
✅ ETA confirmation
✅ Bank statement or proof of funds
✅ Invitation letters (if staying with family/friends)
✅ Emergency contact numbers
📱 Use apps like Google Drive, Notes, or Viber’s “Saved Messages” for easy access.
🧘 5. Arrive Early & Stay Calm
Australian border officers are professional but direct. Stay polite and answer honestly.
🕐 Arrive at NAIA 3 hours early
😊 Speak clearly and confidently
📂 Use a travel pouch to keep documents organized
Recommended eSIMs Options for Australia

Start Your Australia Trip Right
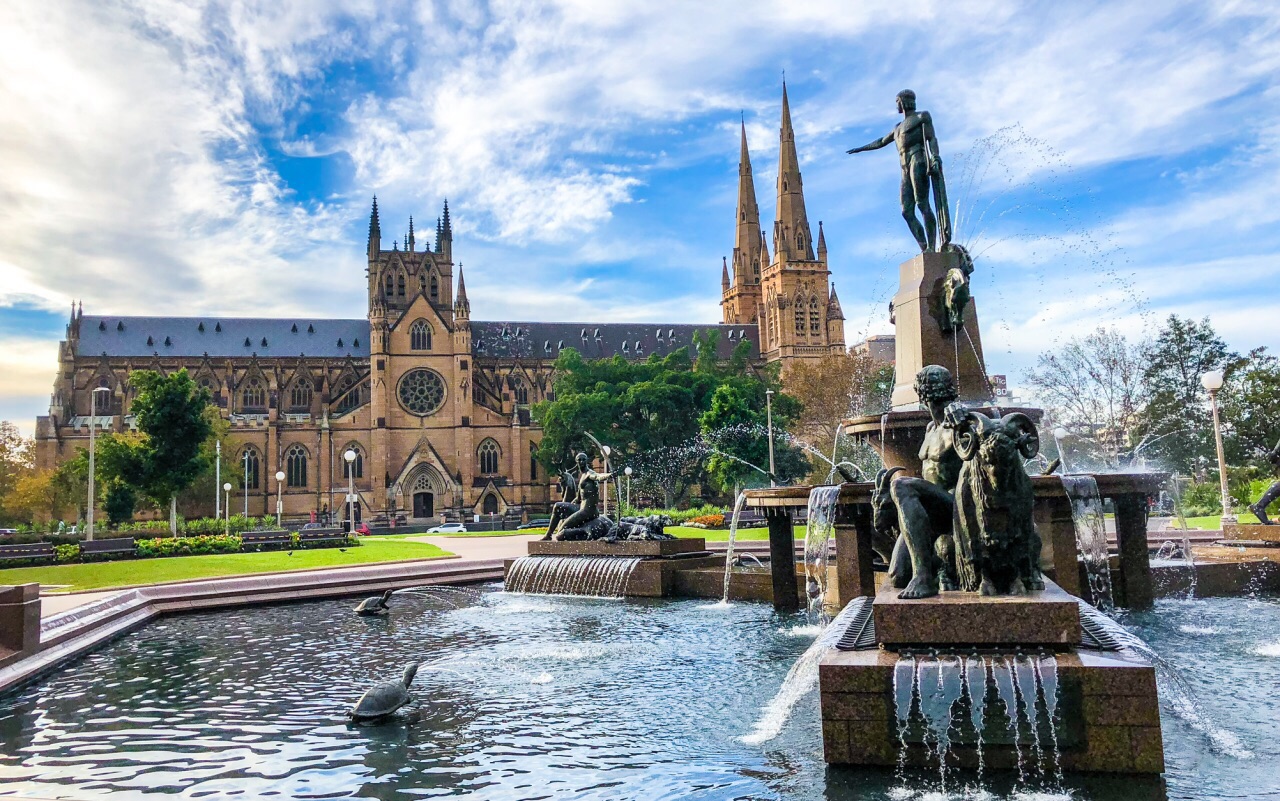
Sydney Harbour, kangaroos, Tim Tams, and maybe your first AFL game — for many Filipinos, Australia isn’t just a travel spot. It’s a dream we’ve seen in movies, family stories, or old balikbayan photos. 🇦🇺✨
Before you jump on that flight and plan your first beach day or shopping run at Target, make sure you’ve covered the basics:
✅ Apply for your Australia ETA through the official app (quick, easy, and a must before flying)
✅ Have your passport, flight, and hotel info ready — you'll need it during the application and at immigration
✅ Bring supporting docs just in case — return ticket, proof of funds, and a short travel plan
✈️ Book your flight to Australia early — promo fares to Sydney or Melbourne do pop up
🏨 Reserve your hotel or Airbnb in Australia — you’ll need the address for your ETA and for border control
Do it all while you're still chill at home in the Philippines — so when you land in Australia, you're ready to explore, not panic.
FAQ: Australia ETA
-
What is the Australia ETA?
-
How much does it cost?
-
How long does approval take?
-
How long can I stay in Australia with an ETA?
-
What if I’m staying with family or friends?
-
What if my ETA is denied?
Trending Searches
-
Featured guides
-
Trip.com links
- Mothers Day Gifts
- eSIM
- Hong Kong International Airport
- International Driving Permit
- Toronto Pearson International Airport
- Universal Studios Singapore
- Great Wall of China
- UK ETA
- Narita International Airport
- China Currency
- Changi Airport
- Schengen Visa
- Singapore MRT Map
- France Visa
- Ninoy Aquino International Airport