Japan Arrival Card: How to Fill It Out & Entry Tips


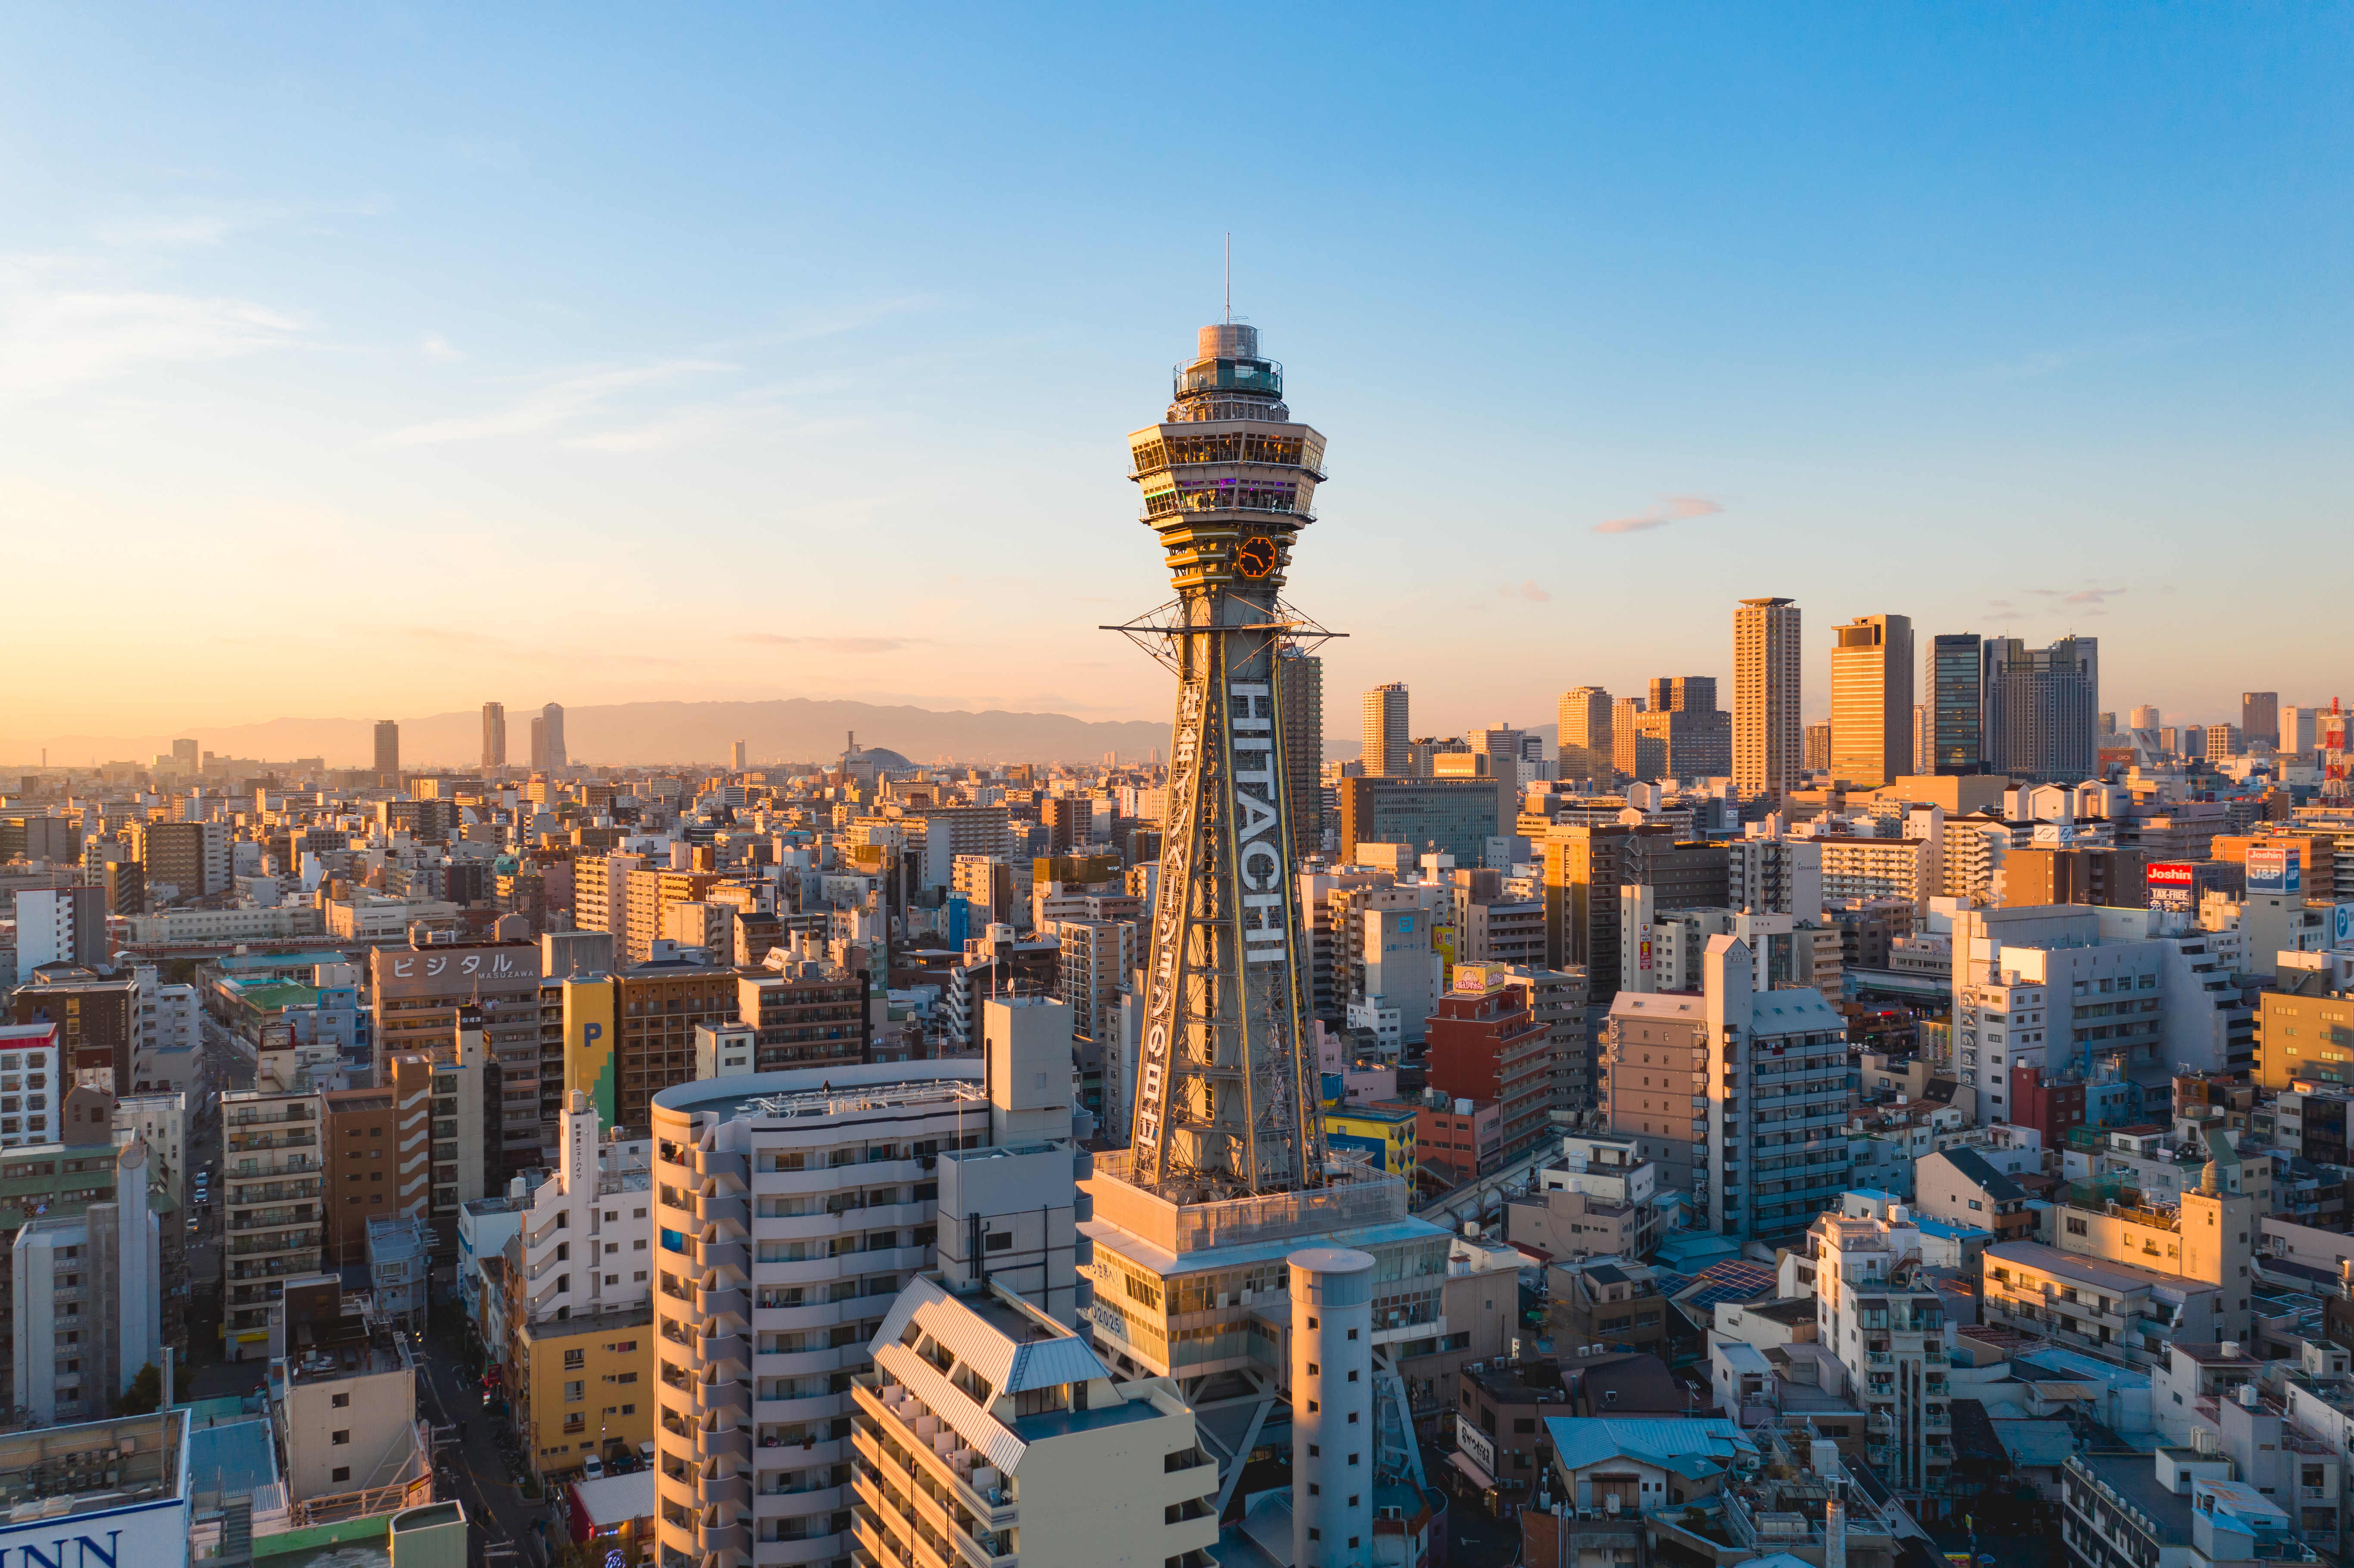
For many Filipinos, traveling to Japan isn’t just about visiting a new country — it’s about stepping into a place we’ve long admired from afar. Whether it’s the cherry blossoms, the bustling streets of Tokyo, or the quiet charm of Kyoto, Japan holds a special place in the hearts of Pinoys.
But before you can enjoy your first bowl of authentic ramen or take that Instagrammable shot in Shibuya, there’s a bit of paperwork you need to handle — one of the most important being the Japan Arrival Card. This is a simple form you’ll be asked to fill out before entering Japan. It includes your basic info, where you’ll be staying, and why you’re visiting.
📄 What’s the Japan Arrival Card?

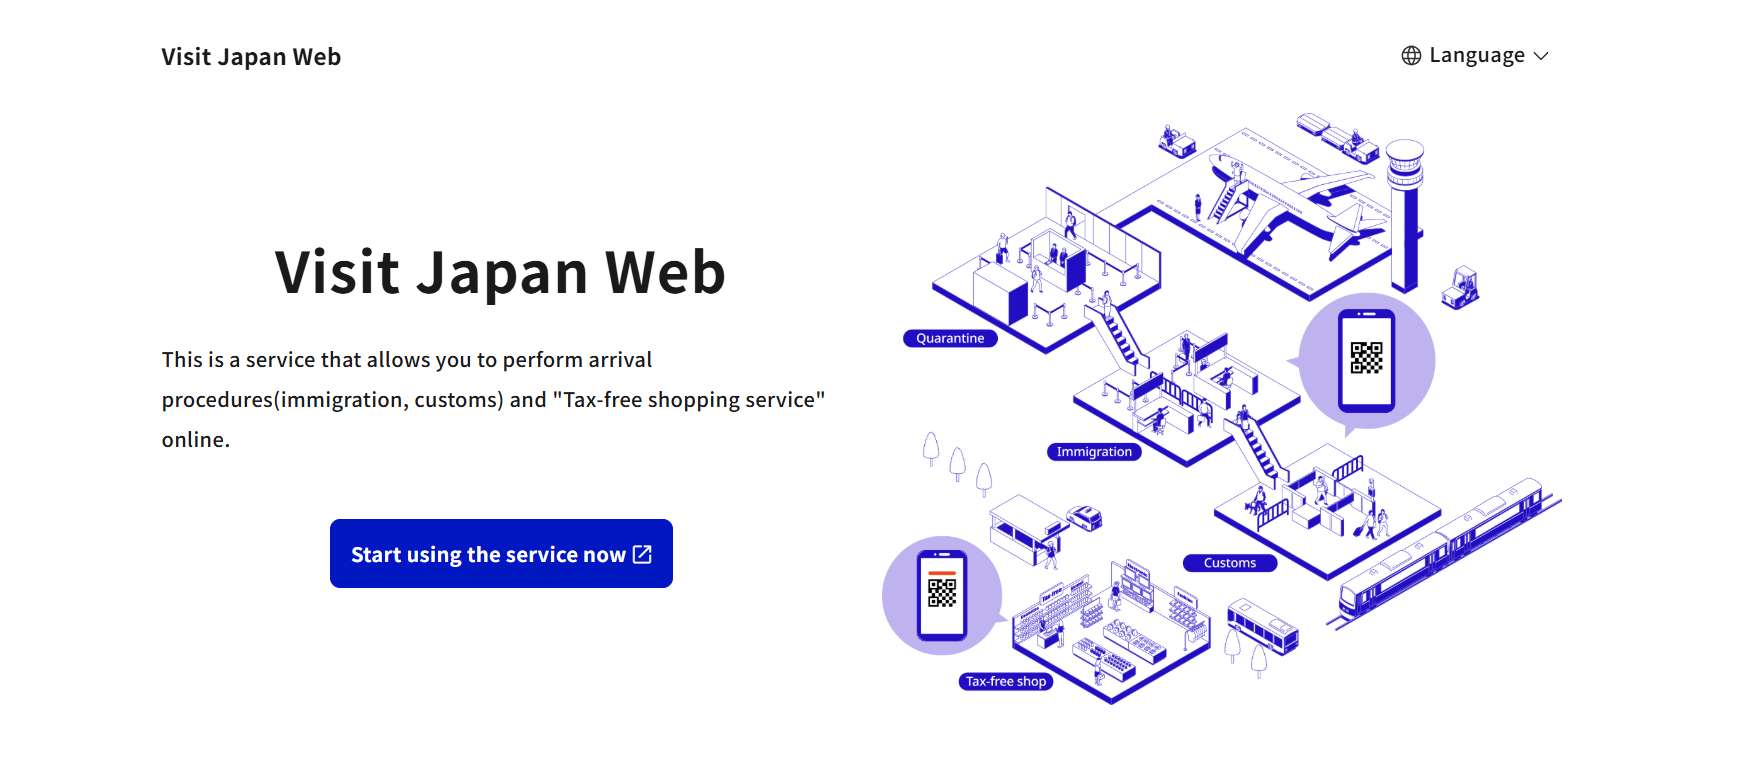
If you're flying to Japan from the Philippines, here's something you really want to sort out before your trip: the Japan Arrival Card. It’s a digital form that replaces those old-school paper documents you usually fill out on the plane — you know, the ones they hand you while you're half-asleep and can't find a pen?
This is all part of Japan’s push to modernize their airport process through the Visit Japan Web system. It’s easy, convenient, and saves you a lot of hassle once you land.
So, what exactly is it?
Think of it as your digital entry pass into Japan. You fill it out online before your flight, and it covers all the details immigration and customs need — like:
- Your passport info
- Your travel dates & flight
- Where you’ll be staying in Japan
Once done, the system gives you QR codes you’ll scan when you arrive at the airport in Japan. No more scrambling for papers at the last minute!
🛃 Why should Filipino travelers care?
Let’s be real — Filipino travelers are used to long queues, filling out forms mid-flight, or digging through bags for that one document. Japan’s digital Arrival Card cuts all of that out:
✅ Faster processing at the airport
✅ Skip the paper forms on the plane
✅ Smooth and efficient experience at immigration & customs
✅ Use of special QR code lanes for quicker entry at many Japanese airports
The Ultimate Japan To-Do List
 40233 booked


![[Small Group of 9] Kyoto Kifune Shrine + Arashiyama + Sanzenin Temple Day Trip](https://ak-d.tripcdn.com/images/0352l12000ntvi1cm6B01_C_568_320.jpg)
👥 Who Needs to Use It?

If you’re a Filipino traveler heading to Japan — whether it’s for vacation, visiting relatives, a short business trip, or even just to explore Japan’s clean streets, efficient trains, and jaw-dropping convenience stores — you’ll want to complete the Visit Japan Web arrival process.
📌 You need to fill it out if:
✅ You’re flying into Japan
This applies to all flights, whether you’re landing in Tokyo, Osaka, Fukuoka, or Hokkaido.
✅ You're staying short-term
Usually for less than 90 days — most Filipino tourists go for 1 to 3 weeks. As long as you’re not moving to Japan long-term, this is for you.
✅ You don’t have a Japanese residence card
If you’re not a long-term resident or working/studying in Japan full time, you need to use this process.
📝 How to Fill Out the Japan Arrival Card
Once your visa is approved and your flights are booked, don’t forget one of the most important (but often overlooked) steps: filling out the Japan Arrival Card via Visit Japan Web.
It may sound technical, but don’t worry — it’s actually super straightforward. Here’s a step-by-step guide, broken down clearly for Pinoy travelers.
🪪 Step 1: Create an Account on the Visit Japan Web
- Go to the official site: https://services.digital.go.jp/en/visit-japan-web/
- Click “Sign up” and register using your email address.
- Choose your preferred language (English is fine!).
- Set your password and confirm your account through email.
🔒 Tip: Make sure to use an email you check often — you’ll receive confirmation and updates here.
🧍 Step 2: Add Your Personal Information
Once logged in:
- Click “Create New Entry”
- Enter your full name, nationality (Philippines), birthdate, gender, and passport details.
- Upload a photo of your passport (optional, but it helps speed things up).
📸 Reminders: Double-check your passport number and expiration date. Japan immigration is very detail-oriented.
✈️ Step 3: Add Your Travel Info
You’ll be asked for:
- Your flight details (airline, flight number, arrival airport)
- Expected arrival date in Japan
- Purpose of visit (e.g., tourism, business, visiting relatives)
- Where you’re staying — hotel name, address, or home address of friends/relatives
📍Pinoy tip: If you’re hopping between cities (Tokyo to Kyoto, for example), just list your first hotel. You can explain the rest at immigration if needed.
📄 Step 4: Fill Out Immigration & Customs Forms
This is where the digital form replaces those paper slips you usually fill out mid-flight.
- Complete the Disembarkation Form (Immigration)
- Then fill in the Customs Declaration — this asks about items you’re bringing into Japan (food, cash, electronics, etc.)
📦 Tip: Be honest but don't panic — Japan is just strict about some things (like medicines, large cash amounts, and certain foods). If you’re unsure, it’s safer to declare.
📲 Step 5: Generate Your QR Codes
Once you’ve filled out everything, the site will generate two QR codes:
- One for Immigration
- One for Customs
These are what you’ll scan at the airport upon arrival.
📱 Save or screenshot these QR codes on your phone (or print them, just in case!). You’ll need them as soon as you land.
🛬 Step 6: Arriving in Japan
When your flight lands:
- Head to the immigration area
- Look for the “Visit Japan Web / QR Code Entry” lane
- Show your QR codes to the officers — they’ll scan them, and you’re good to go!
⏱️ Bonus: If everything’s filled out properly, you’ll breeze through in minutes. No writing, no fumbling, no stress.
Find the Best Hotels in Japan


💼 What You Need to Fill Out the Japan Arrival Card

| Required Item | Notes |
|---|---|
✈️ Valid Passport | Must be the same passport used for your Japan visa application |
📃 Approved Japan Visa | Ensure it’s still valid on your travel dates (tourist, business, etc.) |
📧 Email Address | Needed to register on the Visit Japan Web platform |
📱 Smartphone, Tablet, or PC | Any device with internet access — you’ll fill the form online |
🏨 Accommodation Details | Name & full address of your hotel or place of stay in Japan |
🛫 Flight Details | Airline, flight number, and exact arrival date/time |
🧍 Personal Info | Full name, birthdate, gender, nationality, passport number |
👜 Customs Info (what you’re bringing) | Be ready to declare cash over ¥1M, restricted food, electronics, etc. |
📲 QR Code Viewer | Save QR codes to your phone or print them — you’ll scan these at arrival |
📷 (Optional) Passport Photo Upload | Speeds up processing, but not required |
Unlock the Best Flights to Japan
🗓️ Where and When Do You Fill It Out?
here’s what you need to know about when and where to complete the Japan Arrival Card — and how to avoid any last-minute stress:
📍 Where to Fill It Out:
- Online via Visit Japan Web
This is the official and preferred method. You fill it out on your phone, tablet, or laptop before you even leave the country. - At Home (Best Option)
Do it while you’re still in the Philippines — relaxed, with all your documents nearby. It only takes around 10–15 minutes. - At the Airport (Not Ideal)
You can technically do it at NAIA or upon arrival in Japan, but you risk delays, long lines, and slow Wi-Fi. - Onboard the Flight?
Nope — this form is digital. There’s no paper version handed out on the plane like before.
⏰ When to Fill It Out:
- After Your Japan Visa is Approved
Don’t start it until you’ve received your visa — you’ll need your passport and confirmed travel plans. - Ideally 3–7 Days Before Your Flight
This gives you time to double-check all details and make sure your QR codes are saved properly. - At Least 1 Day Before Departure
Don’t wait until the last minute! Japan immigration is strict, and errors or missing info can slow you down at the airport.
✅ Tips to Avoid Delays:
- Use a personal email and save your login — you’ll need to access your account upon arrival.
- Screenshot or print your QR codes — don’t rely on airport Wi-Fi.
- Double-check flight and passport details — small errors can cause big delays at immigration.
- Declare honestly — especially for customs items like food, meds, or large cash.
📂 Other Required Documents for Entry to Japan
Aside from the Japan Arrival Card, make sure you have these essential documents ready when flying to Japan from the Philippines:
🛂 1. Valid Passport
Your passport must be:
- Valid for the entire duration of your stay in Japan
- In good condition (no damage or missing pages)
🎟️ 2. Return or Onward Ticket
You’ll need proof that you’re leaving Japan within your allowed stay (usually within 15–90 days depending on your visa).
- Print your return flight ticket or have a copy on your phone
- If you’re traveling onward to another country, show that ticket instead
📌 Tip: One-way tickets with no onward plans may raise questions at immigration.
🛃 3. Japan Visa (Required for Filipinos)
Filipino citizens must apply and be approved for a Japan visa before entering the country.
- Tourist, business, or family visit visas are usually valid for short stays (15–90 days)
- Bring the original visa sticker in your passport (issued by the Japanese Embassy or Consulate)
📌 Note: Japan does not offer visa on arrival for Philippine passport holders.
📄 4. Japan Arrival Card (Visit Japan Web)
As discussed earlier — complete this online before your flight and bring the QR codes.
Recommended eSIMs Options for Japan


🧳 Tips for a Smooth Arrival in Japan
Sources: Wikipedia
✅ 1. Fill Out the Japan Arrival Card Before You Fly
Let’s be real — no one wants to be that person fumbling with forms at the airport after a 4-hour flight. Save yourself the hassle and fill out the Japan Arrival Card online via Visit Japan Web while you’re still in the Philippines.
It’s the digital version of immigration and customs paperwork — and it’s now the standard for Japan arrivals.
📝 Do it:
- After you get your Japan visa
- Once you’ve finalized your flight and hotel
- Preferably 3–5 days before departure
No need to rush at the airport, no awkward moments at immigration.
🖥️ 2. Use Visit Japan Web to Get Your QR Codes
Once you’ve filled in all your details — passport, flight info, where you’re staying, and what you’re bringing — Visit Japan Web will generate two QR codes:
- One for immigration
- One for customs
These codes are your fast pass through Japan’s airport entry system.
📱 Save them on your phone.
🖨️ Or print a backup — just in case your data signal is weak when you land.
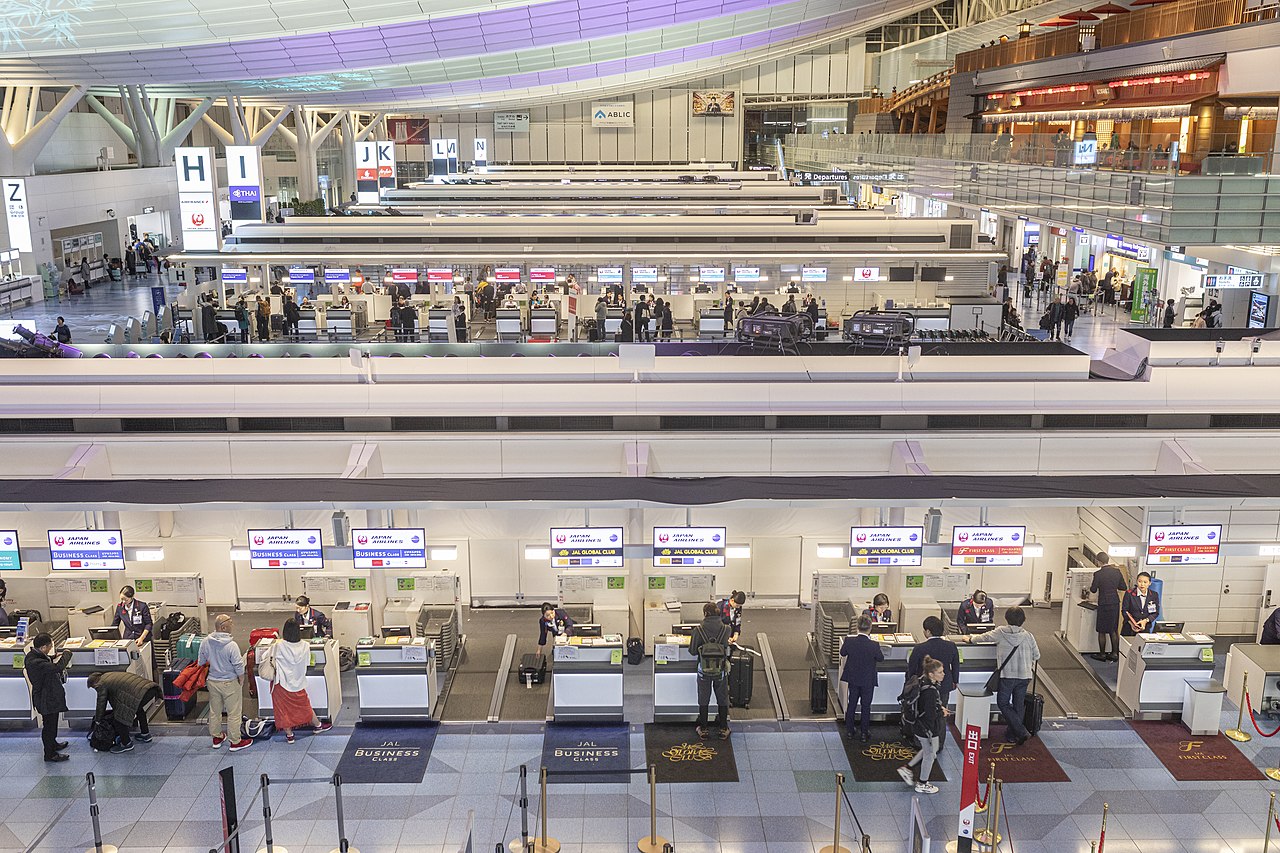
In major airports like Narita, Haneda, and Kansai, there are special fast lanes for QR code users. No codes = longer lines.
🏨 3. Prepare Your Hotel Details and Itinerary
Even if you’re a go-with-the-flow type, immigration officers might ask where you’re staying and what your general plans are. You don’t need to show receipts or a full schedule, but they do expect:
- Name and address of your hotel or Airbnb
- Your estimated length of stay and places you plan to visit
Sample answer?
🗣️ "I’ll stay at Shinjuku Granbell Hotel for 3 nights, then transfer to Kyoto for 2 nights."
That’s more than enough. Clear, simple, honest.
📲 4. Use a Travel App to Stay Organized
Filipino travelers love being handa. So take it a step further — use apps like Trip.com or even just Notes on your phone to keep your:
- Flight booking
- Hotel confirmation
- JR Pass or transport cards
- Screenshots of QR codes and visa
This makes things smoother not just at immigration, but also if airline staff or hotel reception needs any proof.
🧘 5. Arrive Early, Stay Calm, and Be Courteous
Japanese airport staff are helpful but very detail-oriented. If something’s missing or inconsistent, they’ll pause and double-check.
So:
- Be early at NAIA
- Smile and answer questions confidently
- Keep all your documents in one pouch or folder
Remember, they’re not being strict to be difficult — they just expect visitors to follow procedure properly.
Unlock the Best Flights to Japan
- One way
- Round-trip
- direct cheapest
 MNL2:50 AM4h 15mNonstopKIX8:05 AMManila - Osaka|Sun, Aug 2|Jetstar Japan€101€20050% offSearch50% off€200€101
 - MNL2:50 AM4h 15mNonstopKIX8:05 AMManila - Osaka|Thu, Aug 6|Jetstar Japan€101€20050% offSearch50% off€200€101
 MNL1:10 PM4h 10mNonstopKIX6:20 PMManila - Osaka|Thu, Aug 6|Cebu Pacific€106€20047% offSearch47% off€200€106
- MNL2:50 AM4h 15mNonstopKIX8:05 AMManila - Osaka|Wed, Aug 5|Jetstar Japan€113Search€113
- MNL1:10 PM4h 10mNonstopKIX6:20 PMManila - Osaka|Mon, Aug 3|Cebu Pacific€116Search€116
- MNL2:50 AM4h 15mNonstopKIX8:05 AMManila - Osaka|Sat, Aug 1|Jetstar Japan€146Search€146
 MNL13:004h 15mNonstopKIX14:00Manila - City|Mon, Sep 6|Normal AirlineFind more flightsFind more flights
🎌 Start Your Japan Trip Right
For many Filipinos, Japan is a dream destination — from sushi and anime to temples and cherry blossoms. But before the fun starts, make sure to complete the Japan Arrival Card via Visit Japan Web, prep your documents, and stay organized.
✈️ Book your flights to Japan early for the best rates.
🏨 Reserve your hotel in Japan in advance — you’ll need the details for immigration.
Do it all ahead of time, and you’ll breeze through the airport and straight into your Japan adventure.
Tara, Japan na tayo! 🇯🇵
❓FAQ: Japan Arrival Card
-
Do Filipinos need a visa to enter Japan?
-
Is the Japan Arrival Card required?
-
When should I fill it out?
-
Do I need to print anything?
-
Is the Japan Arrival Card free?
Trending Searches
-
Featured guides
-
Trip.com links