

Canada Arrival Card: Entry Requirements & Travel Guide
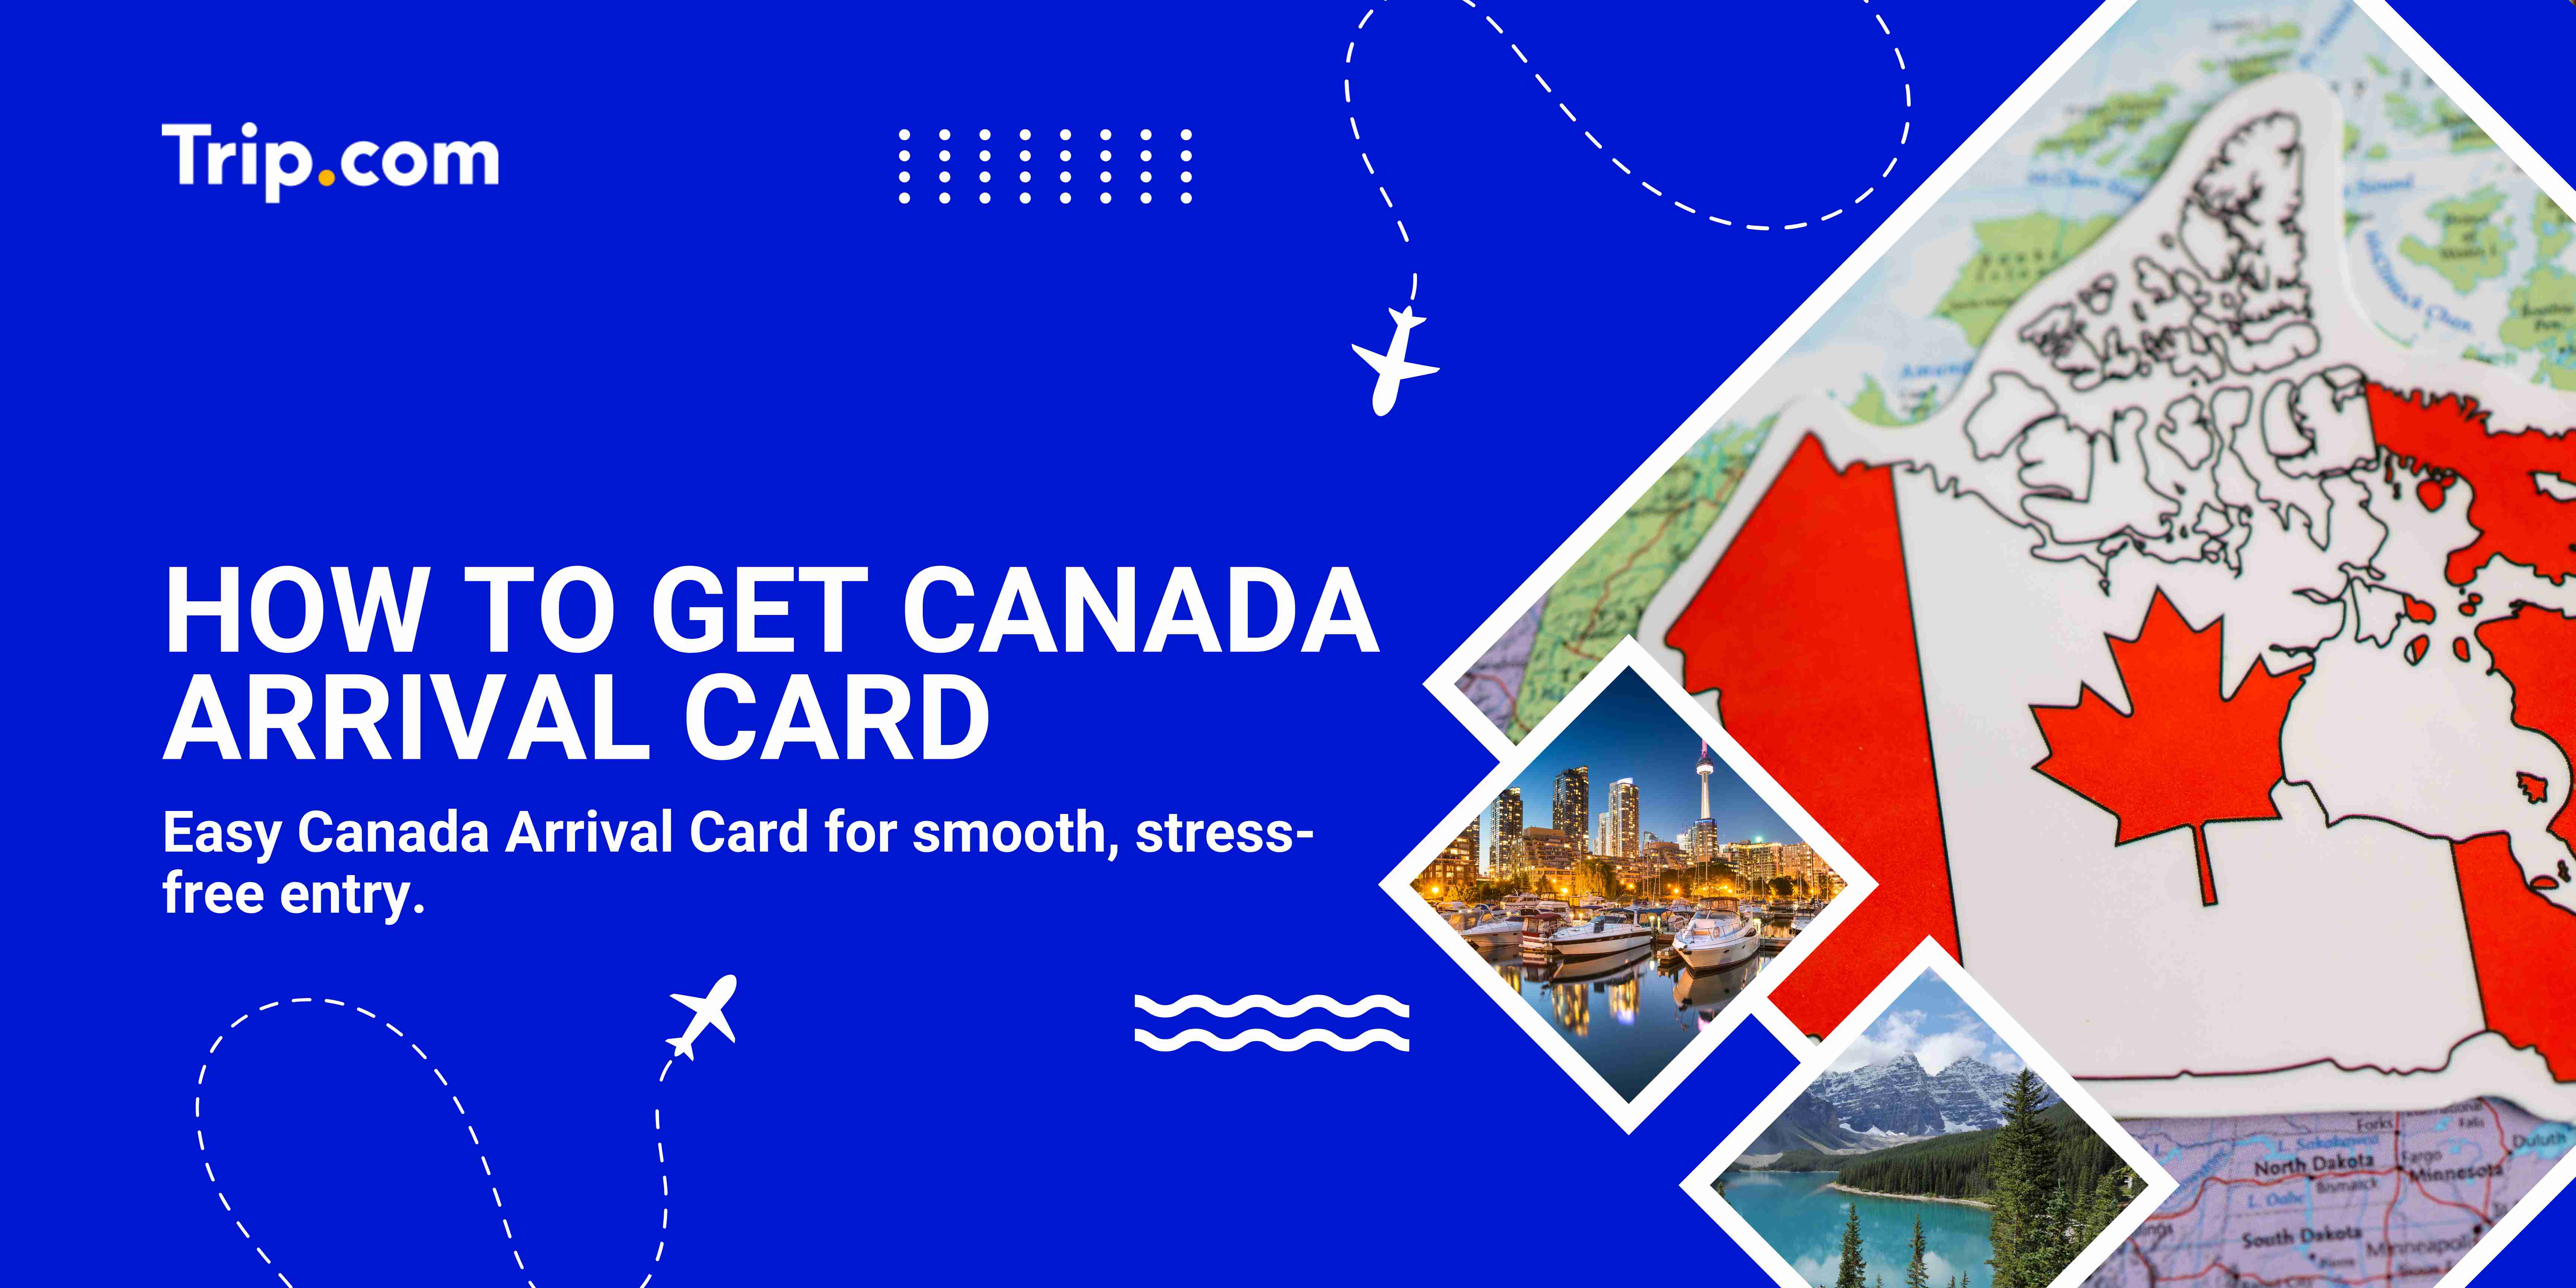
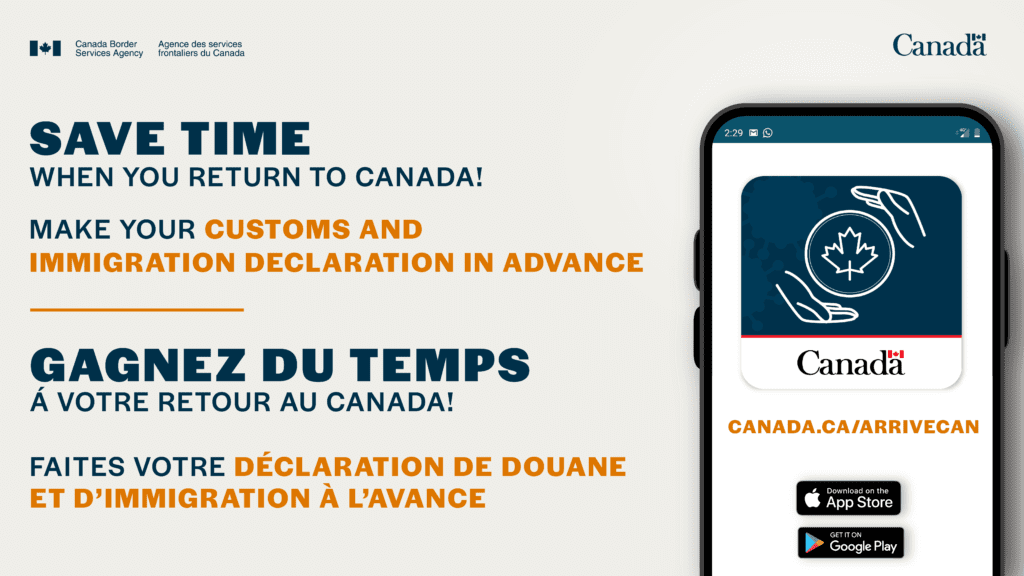
Before your flight to Canada, there’s one important step to take care of — the Canada Advance Declaration, also called the Canada Arrival Card.
This is a short online form that helps speed things up when you arrive. It can save you time at immigration and customs, so you don’t get stuck in long lines after a long flight.
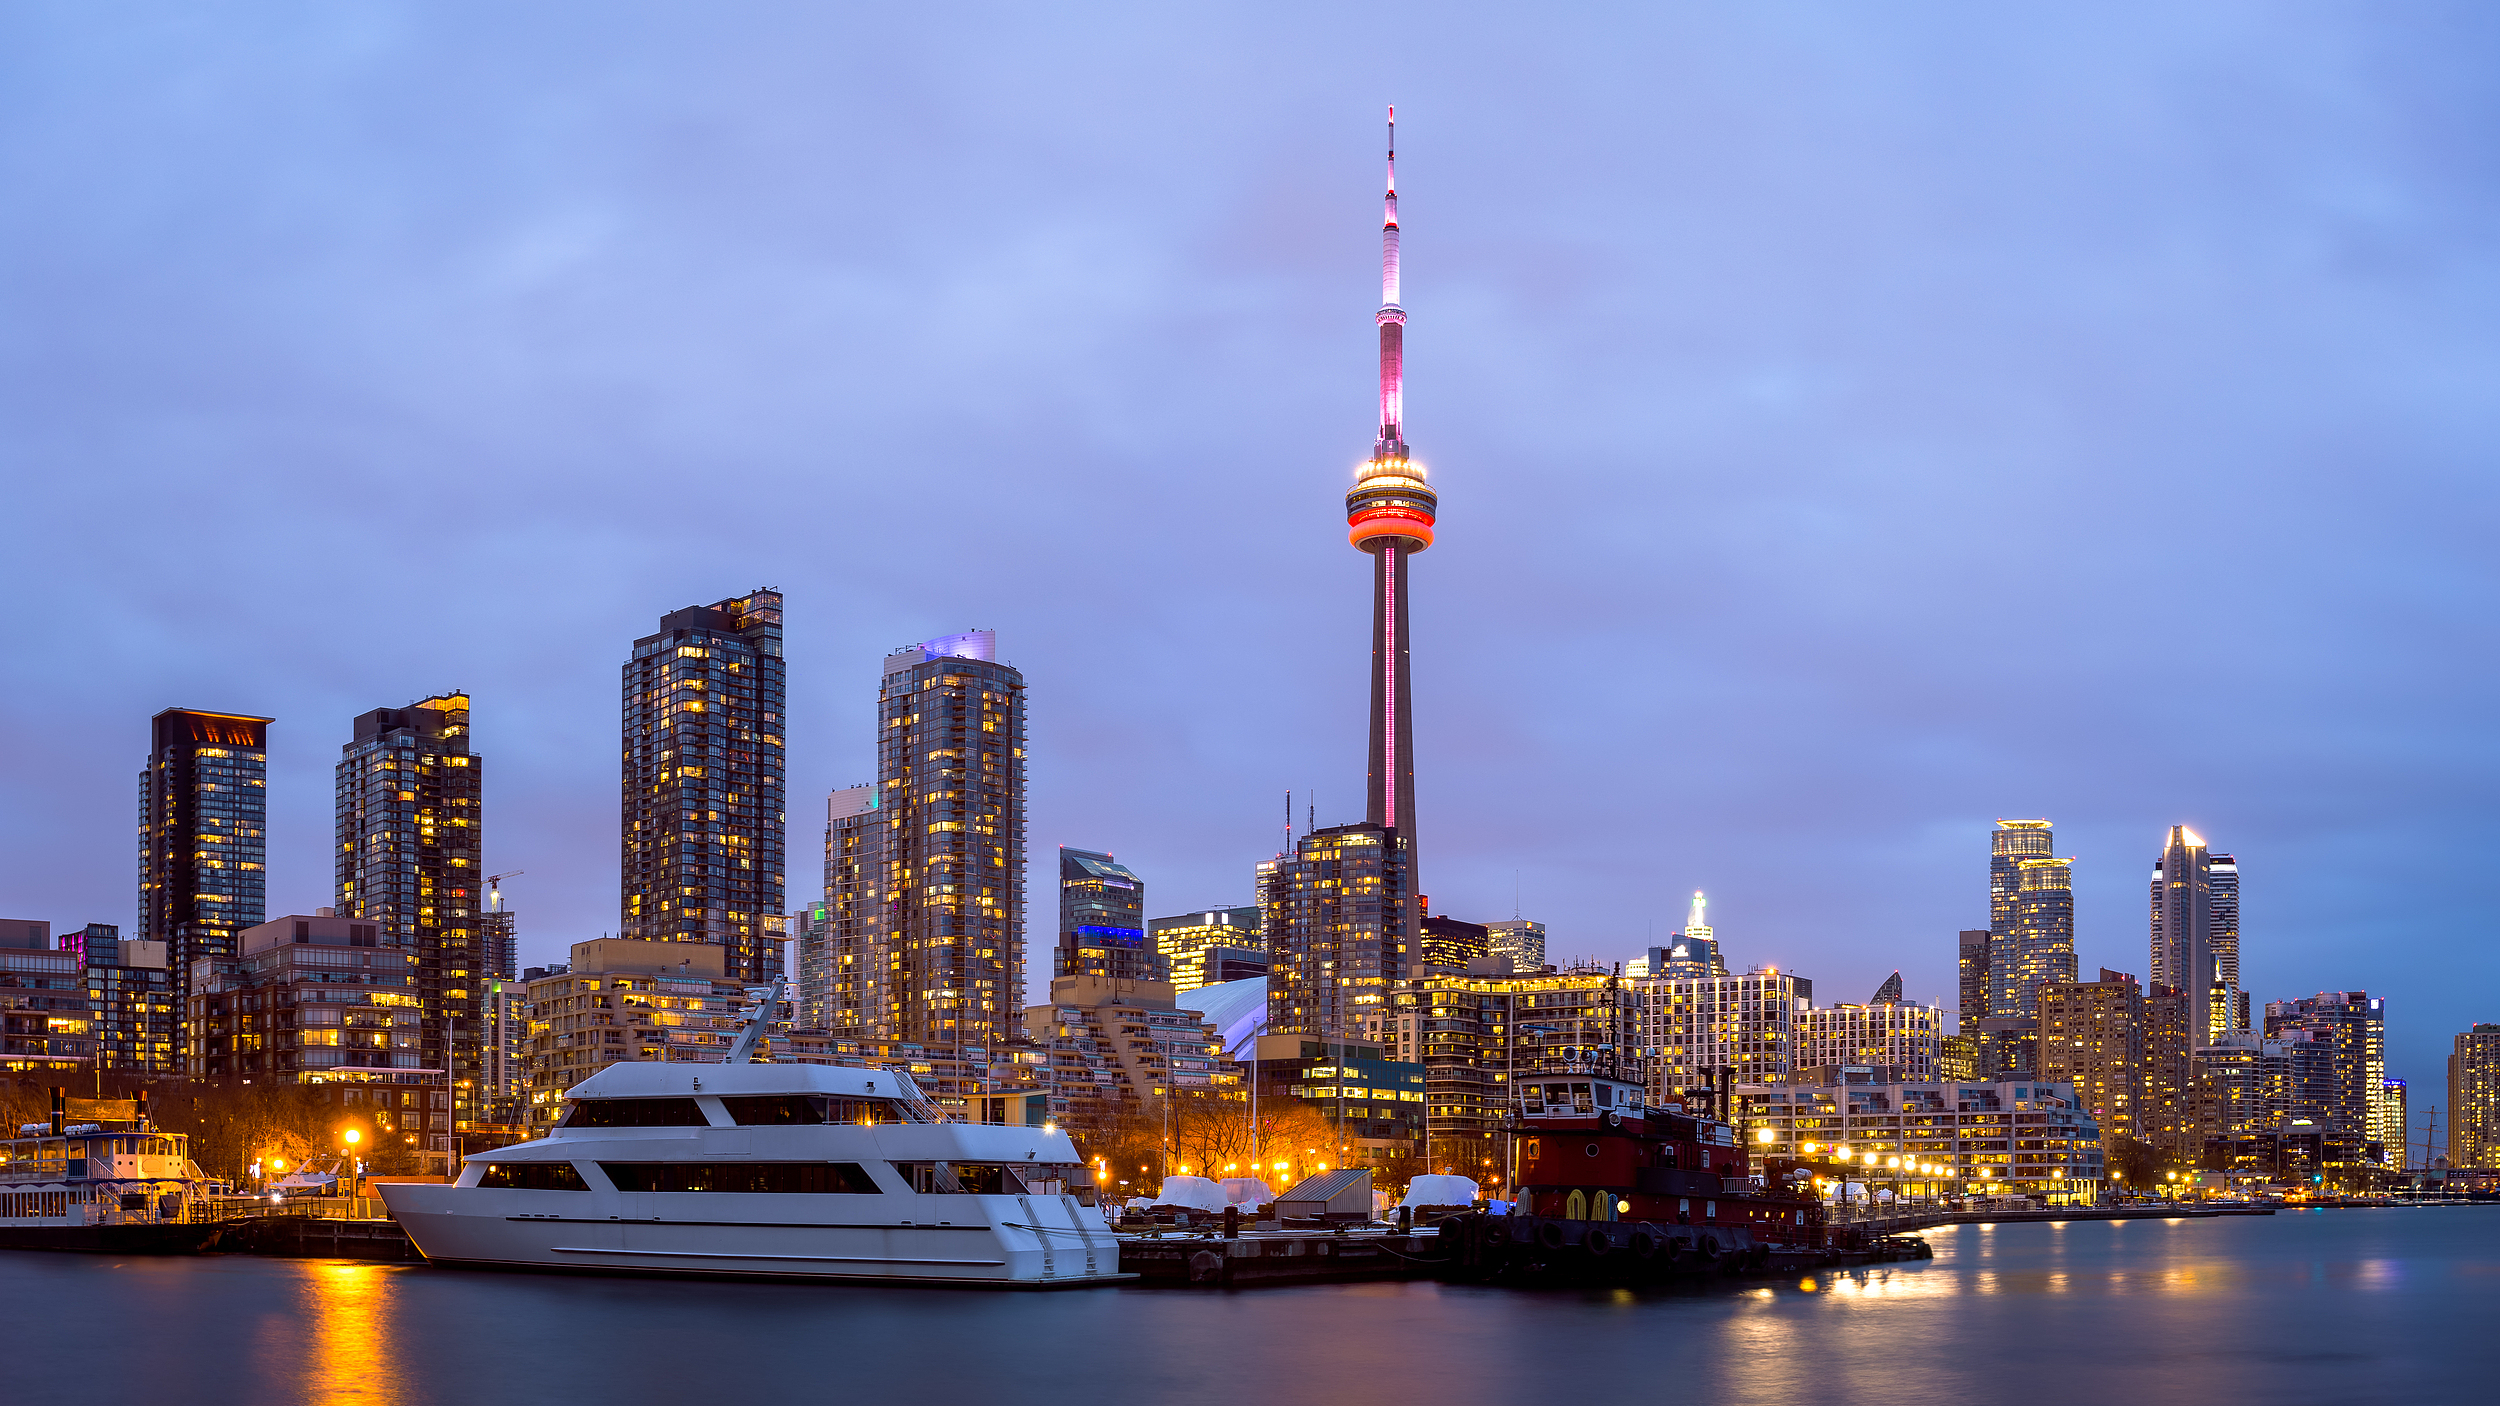
For many travelers from the Philippines, especially those visiting family, working, or starting a new chapter in cities like Toronto, Vancouver, or Calgary, filling this out ahead makes things a lot smoother. This guide will show you who needs to do it, how it works, and some tips to help you settle in quickly.
📄 What’s the Canada Arrival Card?
Wherever you're headed in Canada, there's one small thing you’ll want to take care of before your flight: the Canada Advance Declaration (also called the Canada Arrival Card).
No need to fill out paper forms on the plane, borrow a pen from the flight crew, or try to write while balancing a meal tray half-asleep.
🎒 What is it?
It’s an online form you can complete before flying to Canada. You’ll enter a few basic travel details, like:
- Your passport info
- Your flight number and date
- Where you’re staying in Canada (hotel, family, friend’s place, etc.)
Once done, you’ll get a confirmation. Just save it — a screenshot is enough. You’ll need to show this when you land, and it helps speed things up at immigration.
🛃 Why should Filipino travelers care?
Let’s be honest — after hours in the air, most of us are tired, holding hand-carry bags, maybe even helping kids or seniors. The last thing you want is more paperwork or delays.
Filling out the Canada Arrival Card ahead of time makes life easier:
✅ Shorter time in line at the airport
✅ No paper forms to deal with
✅ Less stress after landing
✅ More time to settle in or meet your family
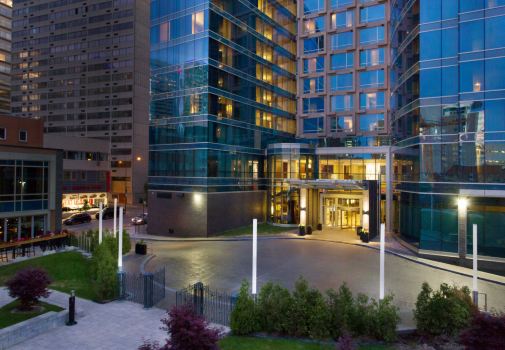
Your Essential Canadian To-Do List
 332 booked
👥 Who Needs to Fill Out the Canada Arrival Card?
Before your flight, don’t skip this small but important step: complete the Canada Advance Declaration (also known as the Canada Arrival Card).
It’s quick, it’s online — and yes, travelers from the Philippines need to do this too.
Here’s who needs to fill it out:
✅ You’re flying to Canada
Whether you're landing in Toronto, Vancouver, Calgary, or any other airport in Canada, you need to complete this form before your flight. It’s part of Canada’s arrival process to make immigration smoother.
✅ You’re visiting short-term
If you're coming as a tourist, visiting relatives, attending a wedding, or just staying for a few weeks — you need this form. It helps officers know who’s arriving and why.
✅ You’re not a resident
If you don’t hold Canadian permanent residency or citizenship, and you’re just entering on a visitor visa, student visa, or work permit — this applies to you.
📝 How to Fill Out the Canada Arrival Card (Canada Advance Declaration)
Flying to Canada soon — maybe to visit family in Toronto, study in Vancouver, or start work in Alberta? This simple online form helps make your airport arrival faster and less stressful.
Here’s how to do it — no stress, no guesswork.
📱 Step 1: Choose How You’ll Fill It Out
You have 2 options:
🟦 ArriveCAN App (most common)
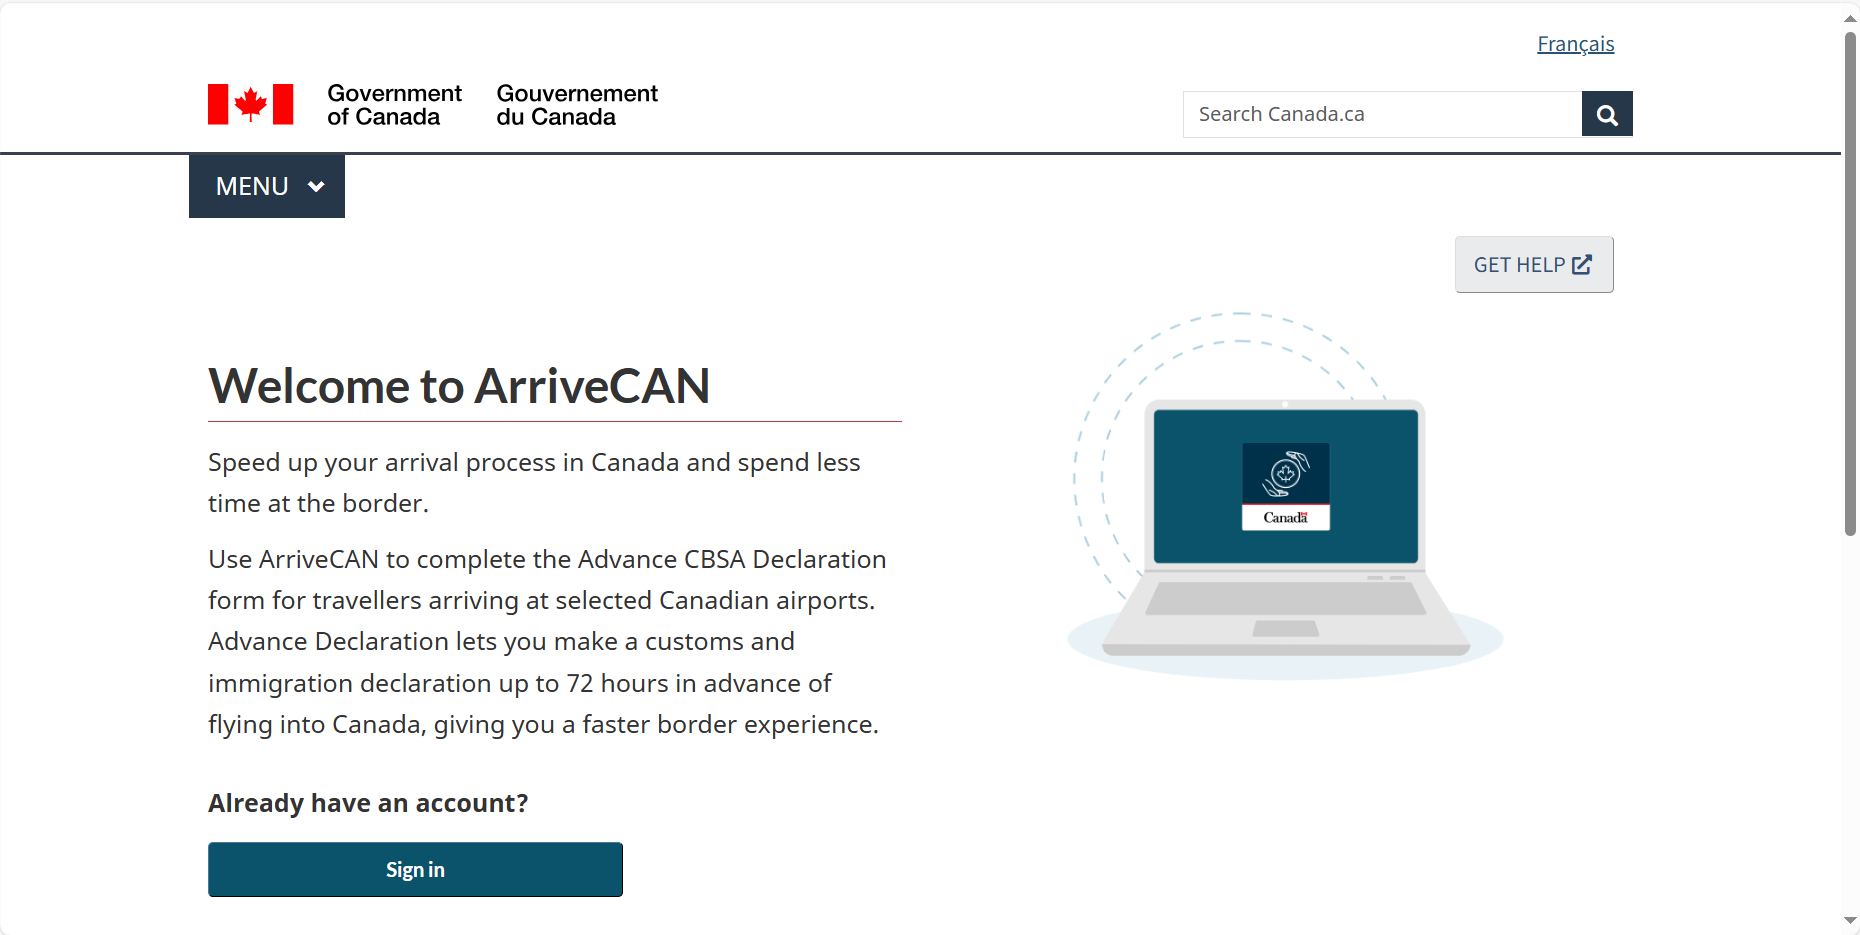
Tip: Most Filipinos use the app because it’s fast and easy to access while traveling.
📩 Step 2: Make an Account
Open the app or website and register using your email address.
You’ll get a code or email to confirm — just click and you’re in.
Use an email you check often, even after you arrive in Canada.
📅 Step 3: Add Your Travel Details
Enter the basics:
- Date of your flight
- Which airport you’ll arrive at (example: Toronto Pearson or Vancouver International)
- Airline and flight number
Note: If you have connecting flights, choose your first stop in Canada.
🛂 Step 4: Fill In Your Info
Now it asks for:
- Passport number
- Visa or permit (if applicable)
- Reason for travel (tourism, family visit, work, study)
- Where you’ll stay (address of a hotel, family, or employer)
Double check — lalo na ang passport number.
🥡 Step 5: Answer the Customs Questions
This is the part where you declare what you’re bringing.
Common questions:
- Do you have food, dried goods, or meat?
- Are you carrying more than 10,000 Canadian dollars?
- Are you bringing any gifts, items for others, or goods to leave in Canada?
Tip: Pasalubong like chicharon, tuyo, or tocino might not be allowed. Better to check before flying.
📸 Step 6: Submit and Save
Once done, you’ll get a confirmation on the app or by email.
Take a screenshot or keep a digital copy. You’ll show this at immigration when you land.
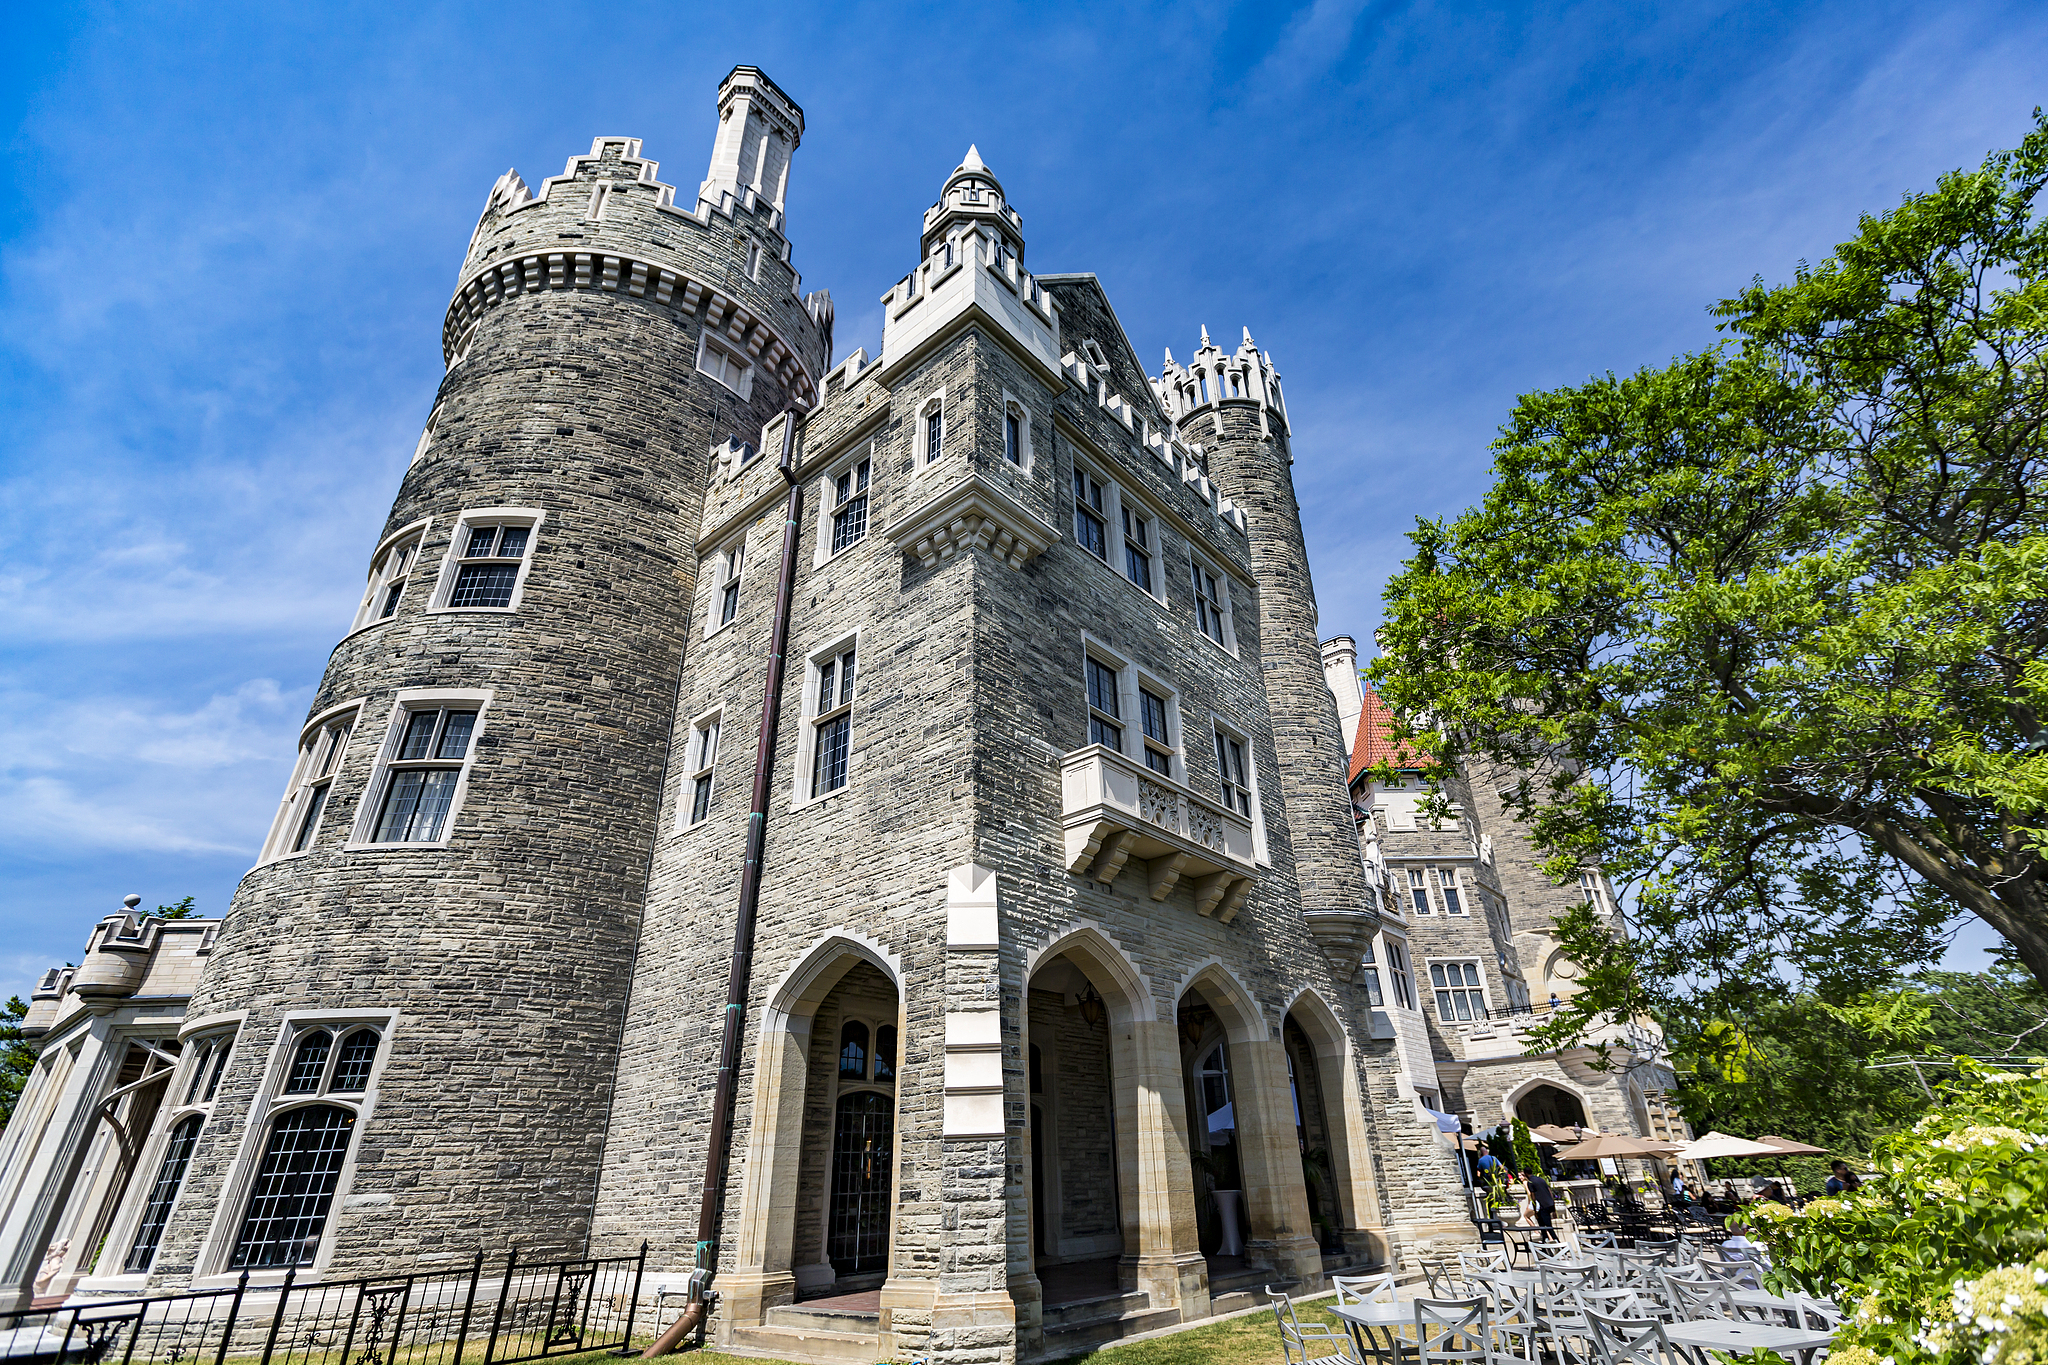
Explore the Top Places to Stay in Canada


💼 What You Need to Fill Out the Canada Arrival Card (Canada Advance Declaration)

Whether you're visiting your family in Toronto, starting school in Vancouver, or working in Alberta — the Canada Advance Declaration (Arrival Card) is one thing you should handle before your flight.
Good news: If you prepare the right info, it only takes 5–10 minutes to fill out.
Here’s what you’ll need, and why it matters.
| What You Need | Why You Need It |
|---|---|
✈️ Valid Passport | Use the same passport you’ll show at immigration in Canada. It must be valid for at least 6 months from your travel date. |
📧 Email Address | This is where your confirmation will be sent. Use your personal Gmail, Yahoo, or Outlook account — something you can open while abroad. |
📱 Phone, Tablet, or Computer | You can use any device with internet. Most Filipinos use the ArriveCAN app, but the website works fine too. No payment, no download hassles. |
🏠 Canadian Address | You’ll need to enter where you’re staying — could be a hotel, a relative’s house, your apartment, or your employer’s place. Even just the first night’s stay is okay. |
🛫 Flight Info | Have your airline name, flight number, and arrival date ready. Check your e-ticket or email confirmation. |
👤 Personal Details | Full name, birthday, nationality, and passport number — write them exactly as shown on your passport. Watch out for typos. |
📦 What You're Bringing | Think about what’s in your luggage. You’ll be asked if you have food, money, or gifts that need to be declared. Be honest — Canada is strict at the border. |
📂 Other Required Documents for Entry to Canada
Whether you’re visiting family, studying, or starting work, here’s what Pinoy travelers need to prepare before boarding that flight.
🛂 1. Valid Passport
✅ Your Philippine passport must be valid for at least 6 months from your arrival date in Canada.
✅ Make sure it’s in good condition — no loose pages, no cracks on the cover, no water damage.
Real Talk: Canadian border officers are very strict. Even small issues can cause delays. Check your passport before heading to the airport.
🎟️ 2. Return or Onward Ticket
✅ You may be asked about your travel plans — how long you’re staying, and when you’re leaving.
✅ Keep a copy of your return or onward flight — printed or saved on your phone.
✅ If you’re on a one-way ticket (ex: work permit, student visa), be ready to explain your situation calmly and clearly.
Tip: Immigration officers may ask extra questions if you don’t have a return ticket. That’s normal. Just show your visa, letter of acceptance, or job offer.
📝 3. Canada Advance Declaration (Arrival Card)
✅ This is the digital customs and arrival form you fill out before landing.
✅ Do it using the ArriveCAN app or ArriveCAN website within 72 hours of your flight.
✅ After submitting, save the confirmation or take a screenshot — you’ll show this when you land.
No more paper forms — this is now required for faster processing at major Canadian airports.
📄 4. Visa or eTA (Electronic Travel Authorization)
✅ Tourists and visitors from the Philippines need a visa (Visitor Visa/Temporary Resident Visa).
✅ Students must carry their study permit approval letter.
✅ Workers should have their work permit approval or employer documents.
Note: If you’re a dual citizen with a Canadian passport or a permanent resident, you don’t need a visa or eTA — but bring proof.
📬 5. Supporting Documents (Always Good to Have)
These may not be asked, but they help if questions come up:
- Hotel booking or address of your relative in Canada 🏠
- Bank statement or proof of funds 💳
- Letter of invitation from family (if applicable) ✉️
- School or work documents 📚👔
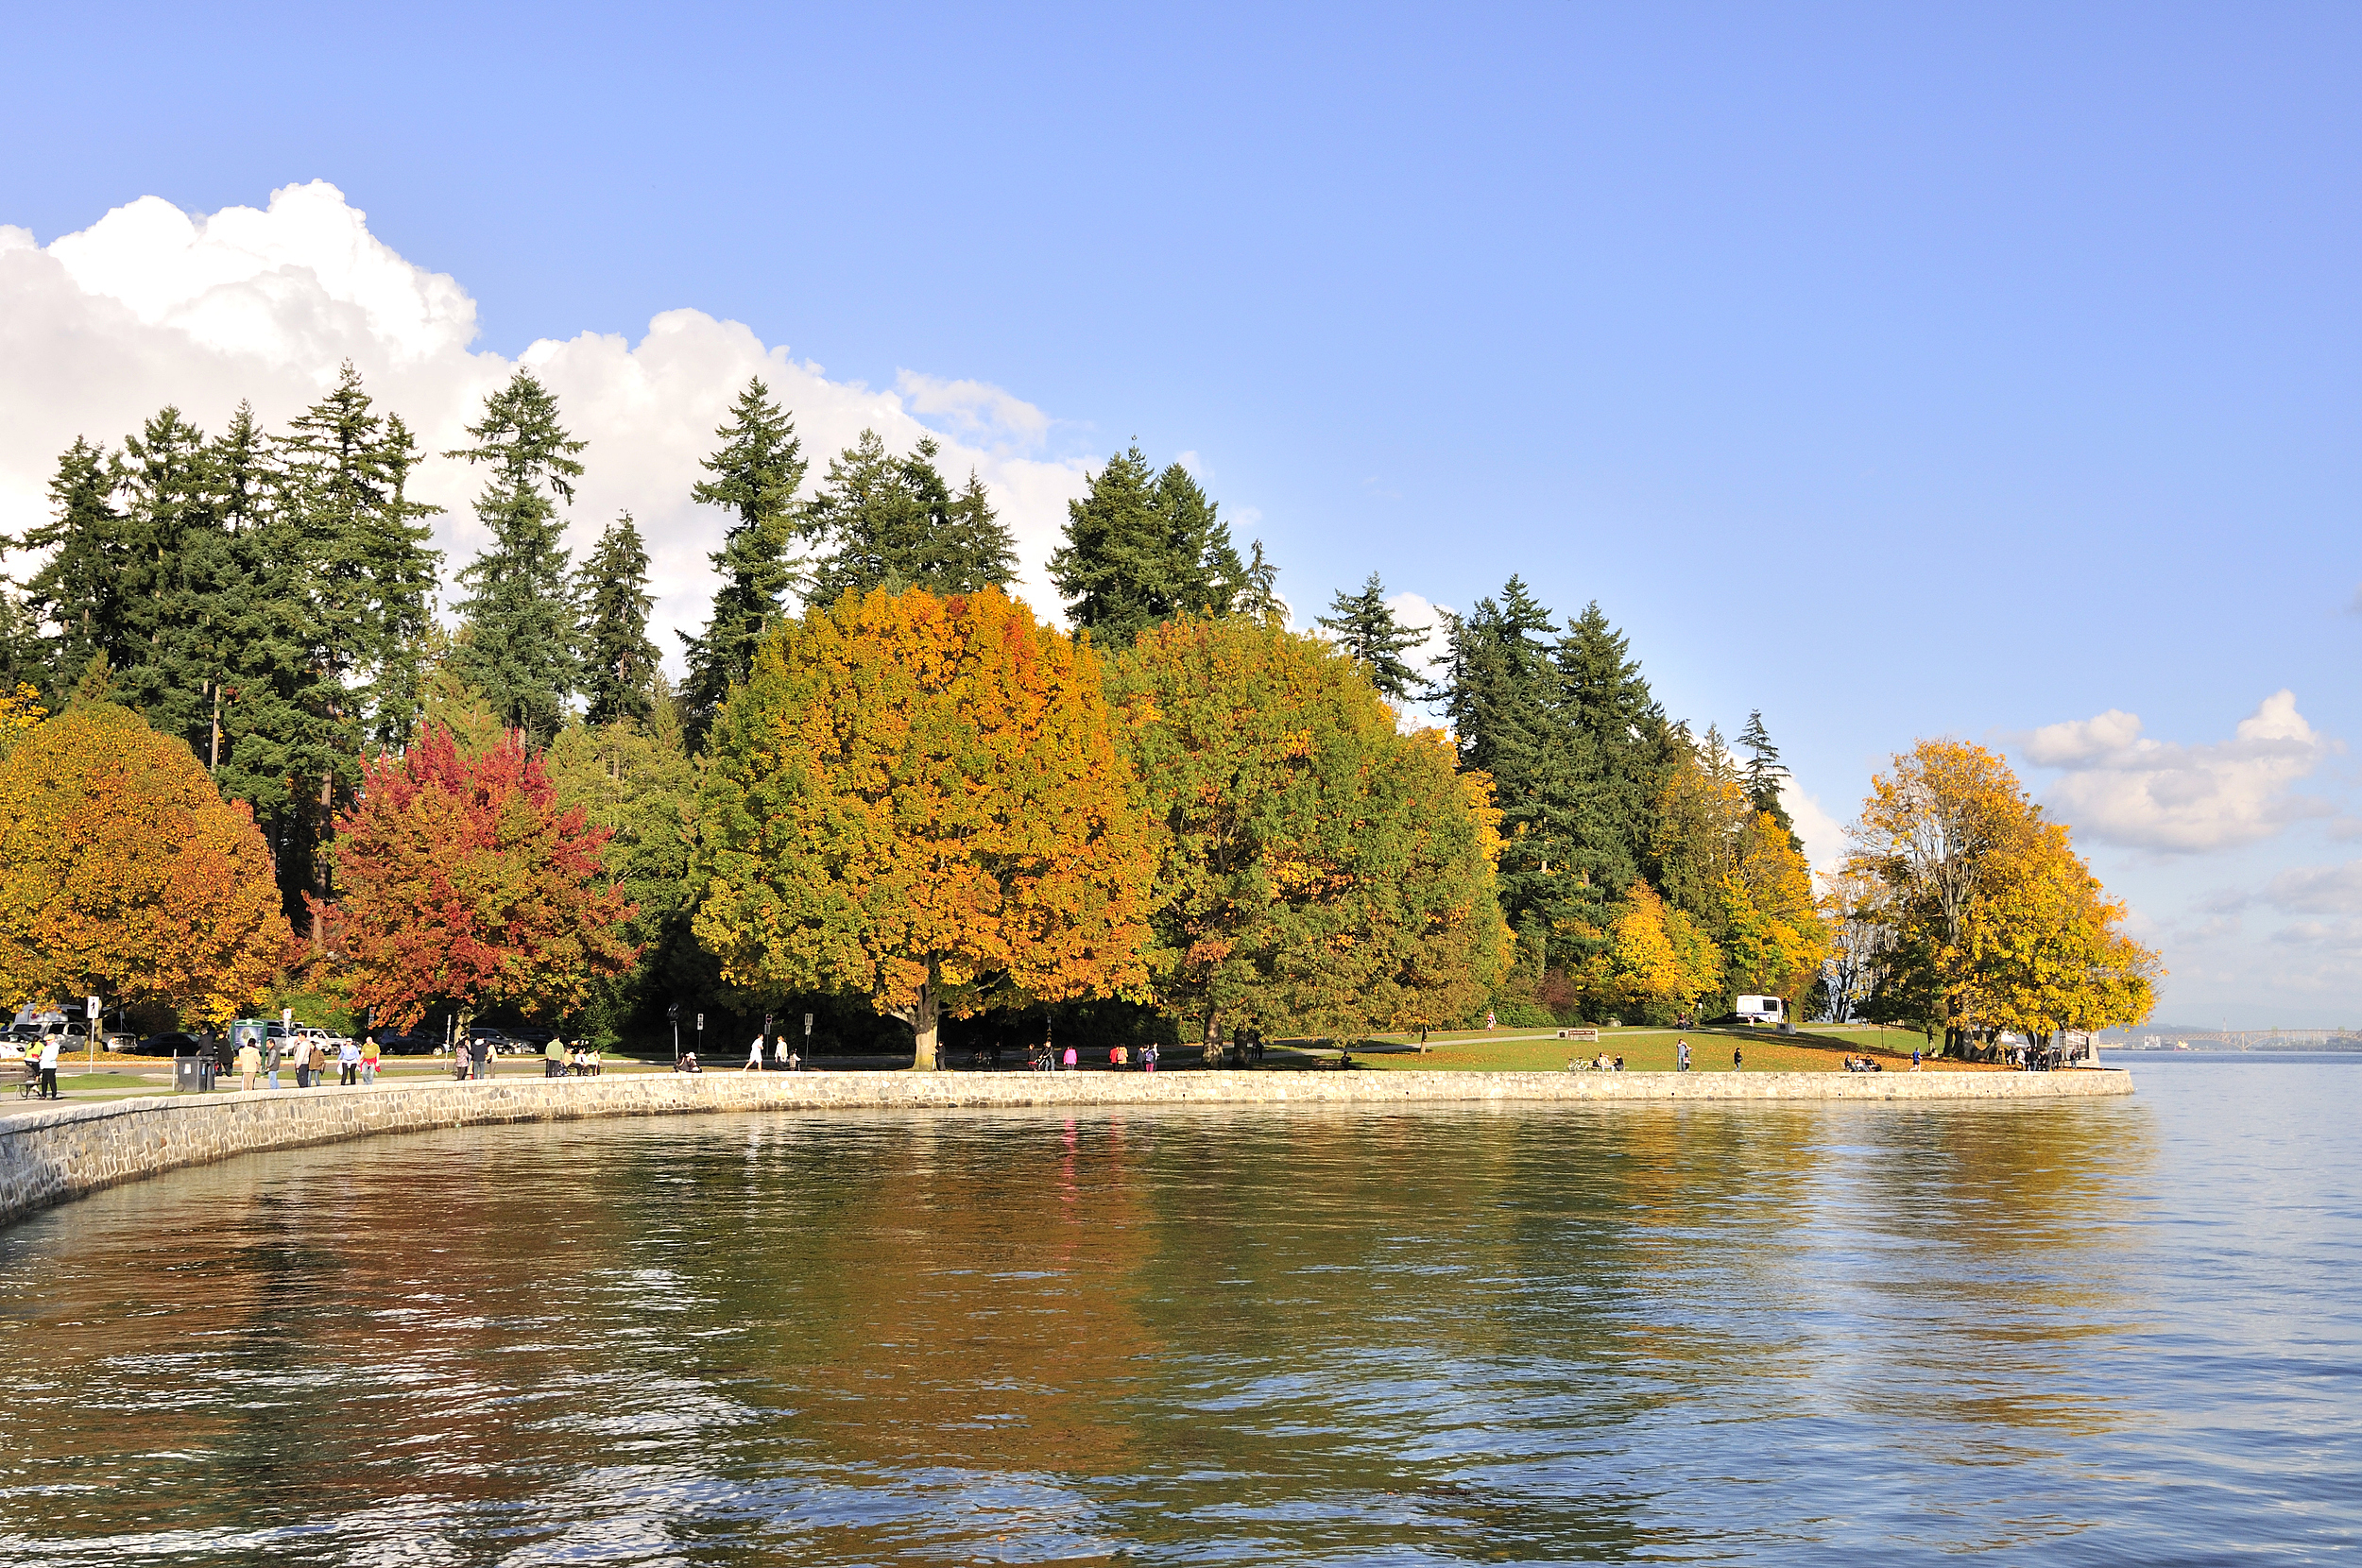
Unlock the Best Flights to Canada
🧳 Tips for a Smooth Arrival in Canada
✅ 1. Fill Out the Canada Advance Declaration (CAD) Before You Fly
Use the ArriveCAN app or ArriveCAN website to fill out the Canada Advance Declaration.
Do it within 72 hours (3 days) before your flight.
📝 You’ll need:
- Passport info
- Flight details
- Items you’re bringing (gadgets, money, food, etc.)
Tip: Screenshot the confirmation or save it in your phone gallery — you’ll show it at immigration or customs.
📌 2. Keep All Documents in One Place
Have a small pouch or envelope with all your important papers. No more digging through bags at the counter or immigration desk.
Include:
📄 Passport
🎫 Visa or study/work permit
🛬 Return or onward ticket (if needed)
📱 CAD confirmation (ArriveCAN screenshot)
🏠 Canadian address or hotel info
🩺 Travel insurance (optional but smart)
Real Talk: Immigration in Canada can move fast but be detailed. Being organized keeps you calm and ready.
🏨 3. Be Ready to Answer Simple Questions
Canadian border officers may ask:
❓ "What’s the purpose of your visit?"
❓ "Where will you be staying?"
❓ "How long are you staying in Canada?"
🎙️ Just be honest and confident.
Sample:
🗣️ “I’m visiting my aunt in Mississauga for two weeks. I have a return flight on the 20th.”
📱 4. Save Everything on Your Phone
Don’t depend on mobile data or airport Wi-Fi — just screenshot all important details before boarding.
Save these:
✅ Flight info
✅ Hotel or relative’s address
✅ Return ticket
✅ Visa or permit
✅ CAD confirmation
✅ Emergency contact (PH or Canada)
Put them in your gallery or notes app so you can open them fast.
😊 5. Be Calm and Respectful
Canadian airport staff are usually kind and professional — but they take their job seriously.
So remember:
🕒 Arrive early at NAIA (at least 3 hours before flight)
📂 Be prepared with your documents
😌 Stay patient even if you’re tired or nervous
🙂 Smile, answer clearly, and keep your cool
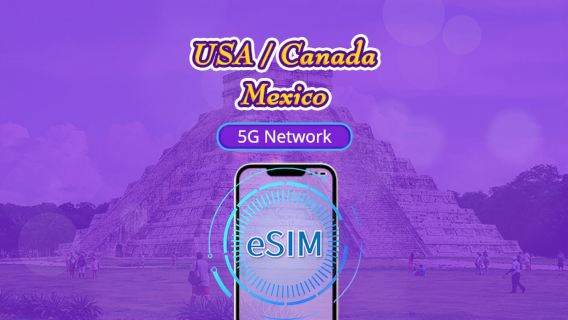
Recommended eSIM Options for Canada

🌏 Start Your Canada Trip Right
Niagara Falls mist, snowy Vancouver streets, quiet parks in Ottawa, or city lights in Toronto — wherever you’re headed, Canada is more than a destination. It’s a new experience full of culture, nature, family moments, and fresh starts.
But before you take that first step into Canadian life, make sure you’re prepared — so your arrival is smooth, stress-free, and focused on what matters most.
✅ Fill out the Canada Advance Declaration (CAD)
– Use the ArriveCAN app or ArriveCAN website within 72 hours before your flight.
– You’ll need your passport, flight info, and what you’re bringing.
– Save the confirmation — screenshot is enough, you’ll show it when you land.
✅ Check your passport and documents
– Passport must be valid for at least 6 months from your arrival date.
– Bring your visa, permit, or letter of approval — print and digital copy if possible.
✈️ Book your flight to Canada early – Flights from Manila to Canada get full fast, especially during -Ber months and school breaks.
🏡 Confirm your place to stay in Canada – You’ll need the address for your Arrival Card and questions at the border.
🧳 Final reminder: Fix everything before you fly — not at the last minute at the airport. The more prepared you are, the faster you’ll pass through immigration and customs.
Once you land, it's time to take a breath and start your Canada journey — whether it's for family, work, school, or a long-awaited visit.
Handa na? Tara na! Canada, here we come! 🇨🇦❄️🧥
📌 FAQ: Canada Arrival Card
-
❓ Is this the same as a visa?
-
❓ When should I fill it out?
-
❓ Do I need internet when I land in Canada to show it?
-
❓ What happens if I don’t fill it out?
-
❓ Is it free?
Trending Searches
-
Featured guides
-
Trip.com links